
Planting, Caring, and Growing Walnut Trees from Seeds: Your Complete Guide
Growing a walnut tree from seeds is a rewarding long-term project.
By starting with fresh seeds and providing the right conditions, you can grow a strong tree that will eventually bear delicious walnuts.
Plant the seeds in nutrient-rich soil and ensure they have plenty of sunlight and room to grow.
It may take years for the tree to mature, but with proper care, you will eventually enjoy the harvest.
Walnut trees also provide shade and beauty, making them a valuable addition to your garden.
Ready to grow your own walnut tree from seeds?
Let’s begin!
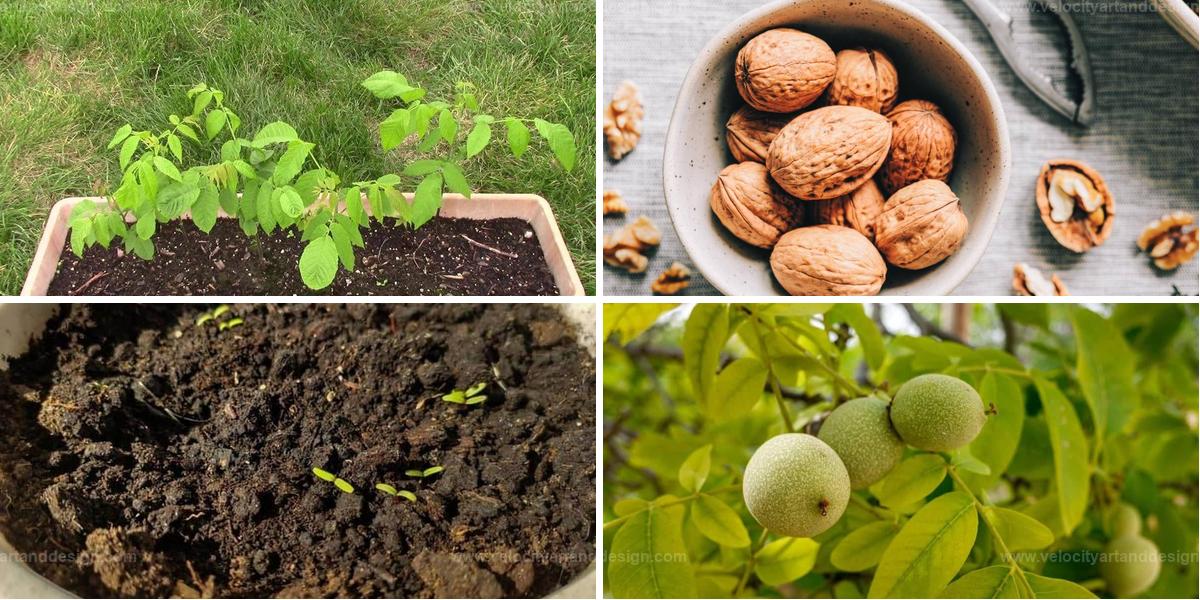
Gathering Seeds

Finding a healthy walnut seed is crucial for starting your journey into growing a walnut tree.
Focus on selecting nuts that are plump and free from blemishes, as these have the best chance of sprouting.
Autumn is the perfect season to gather them, when they drop naturally from their branches.
Once you've collected your choice walnuts, you'll be one step closer to nurturing a magnificent tree in your own backyard.
Choosing the Right Planting Location
Selecting the right location for your walnut tree is essential for its healthy growth and long-term success. By choosing the perfect site, you'll help your tree thrive and produce bountiful harvests for years to come.
Selecting a Site
Walnut trees require full sun for at least 6-8 hours per day.
Choose a location with well-draining, fertile soil, as they do not tolerate standing water.
Ensure the soil is loose and drains well to prevent root rot.
Avoiding Crowded Spaces
Walnut trees can grow large, with a canopy spreading up to 30 feet.
Plant your tree at least 15-20 feet away from buildings, other trees, and power lines to allow proper growth and avoid interference with structures.
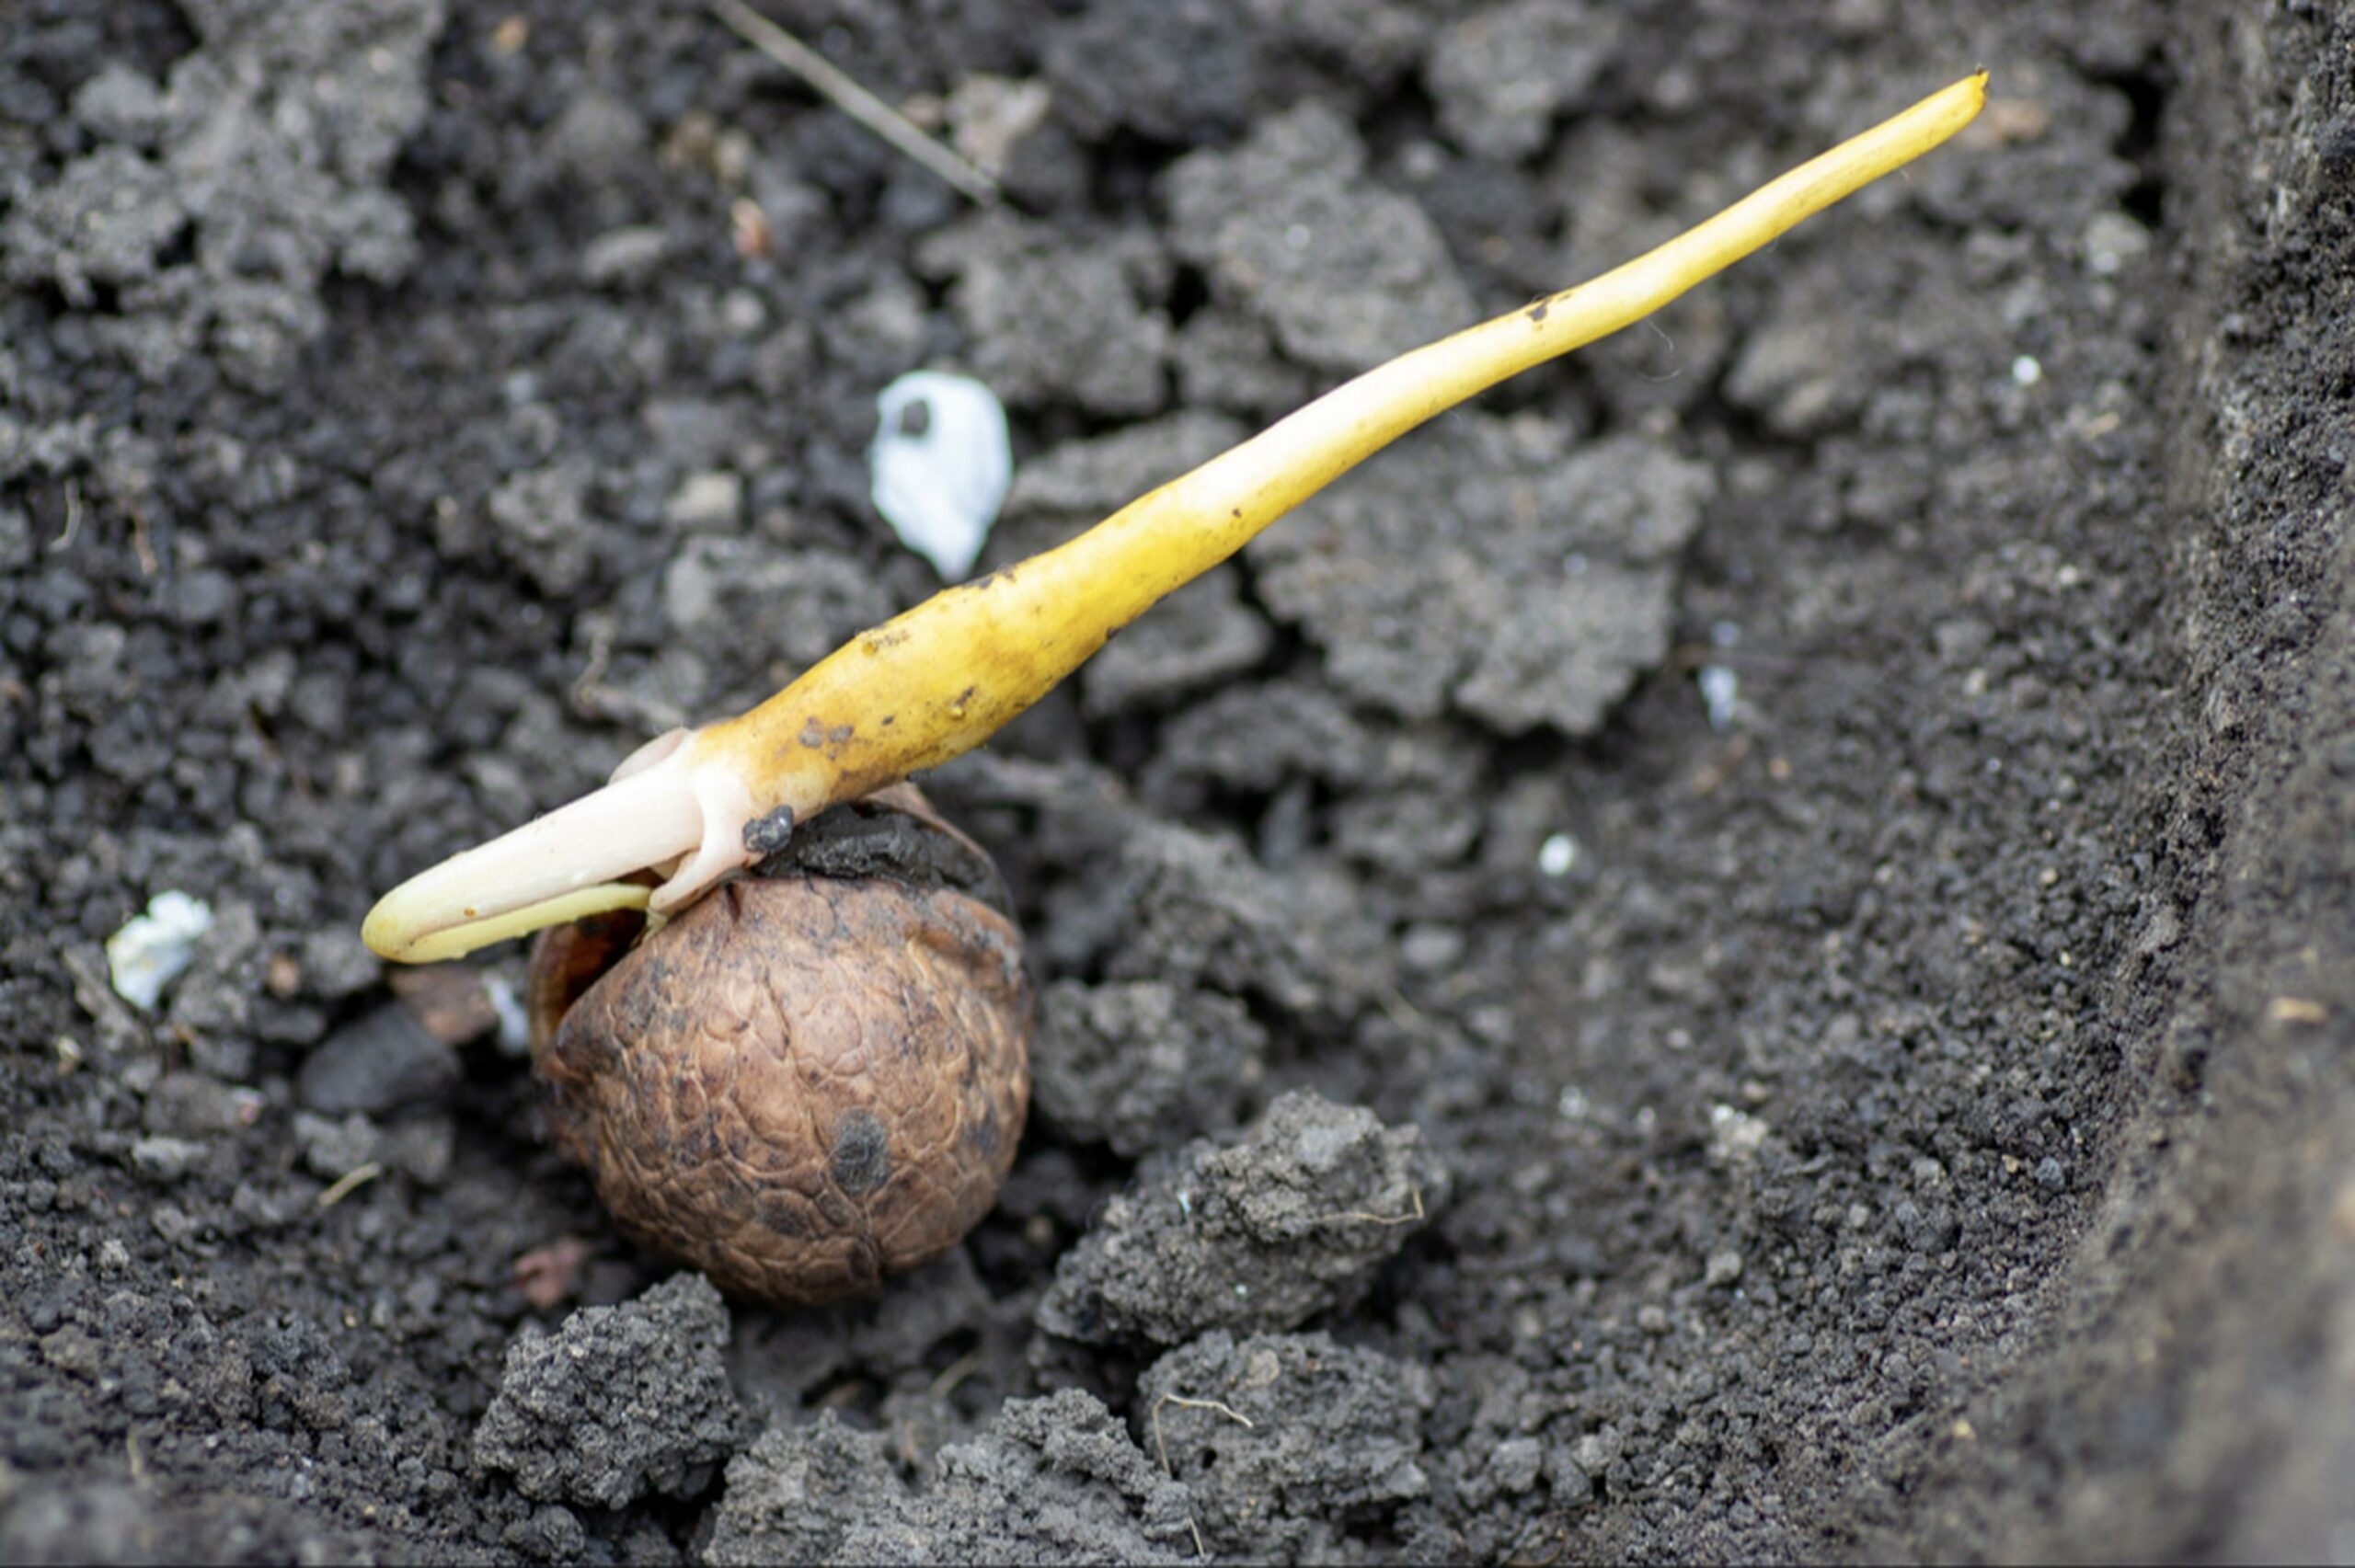
Seed Stratification
Cold stratification plays a crucial role in getting walnuts ready to sprout.
This simple process involves wrapping the seeds in a damp paper towel or sand, then tucking them away in your refrigerator for roughly three months.
During this time, nature works its magic, helping the seeds break dormancy and prepare for germination.
Once you take them out and plant them, you'll be on your way to nurturing new walnut trees that can flourish for years to come.
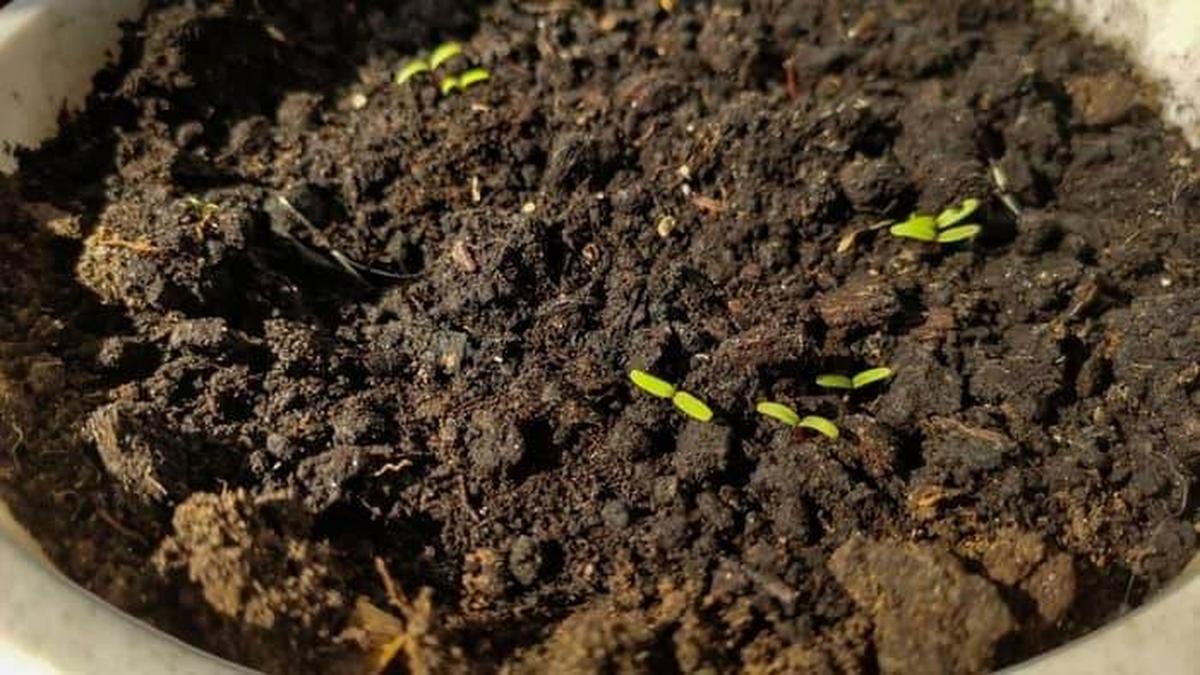
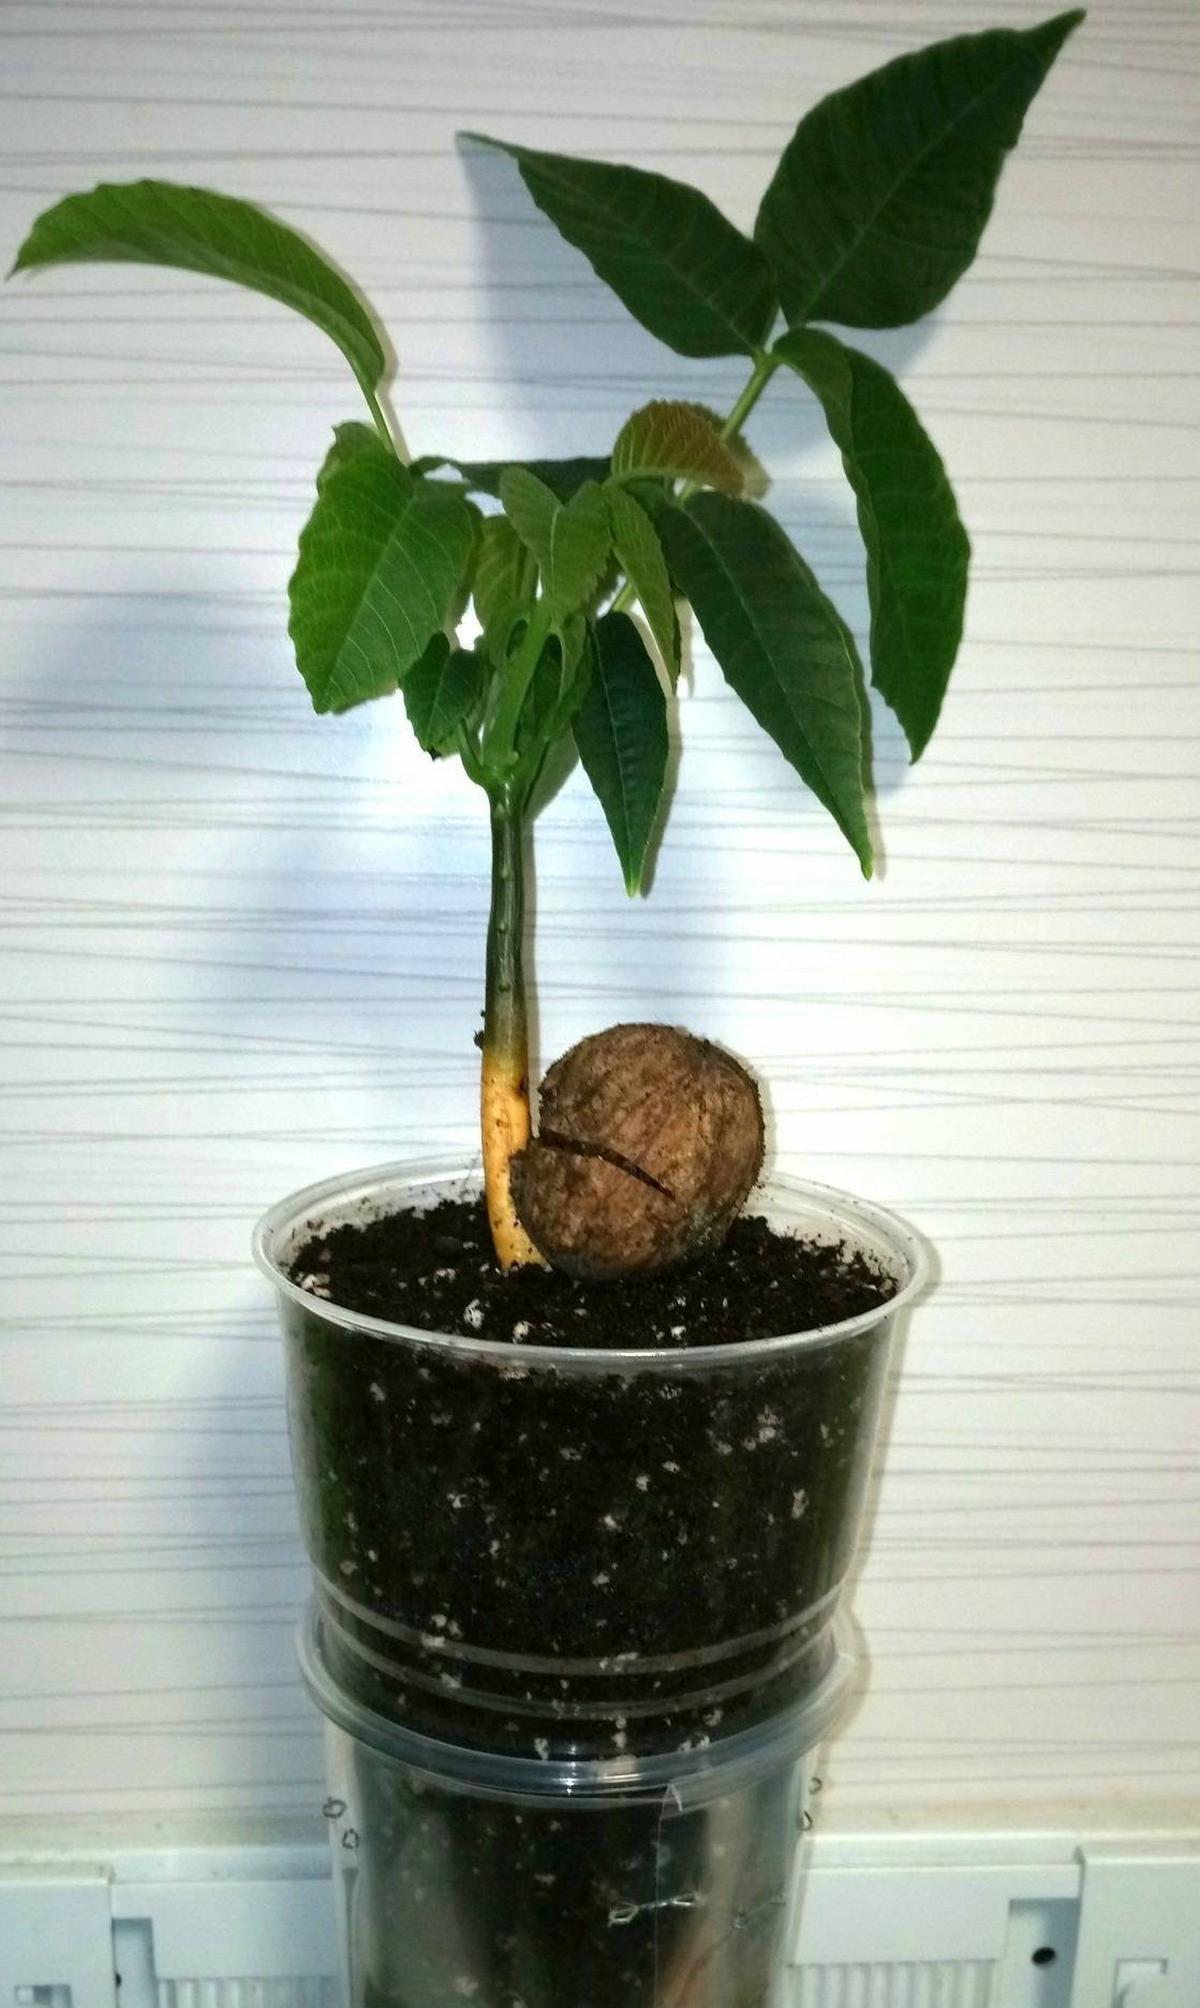
Planting the Walnut Seeds
Planting walnut seeds is the first step in growing a healthy walnut tree. While it takes patience for the tree to mature, the process is simple and rewarding. Here's how to plant your walnut seeds to give them the best chance for successful growth.
Direct Sowing vs. Indoor Germination
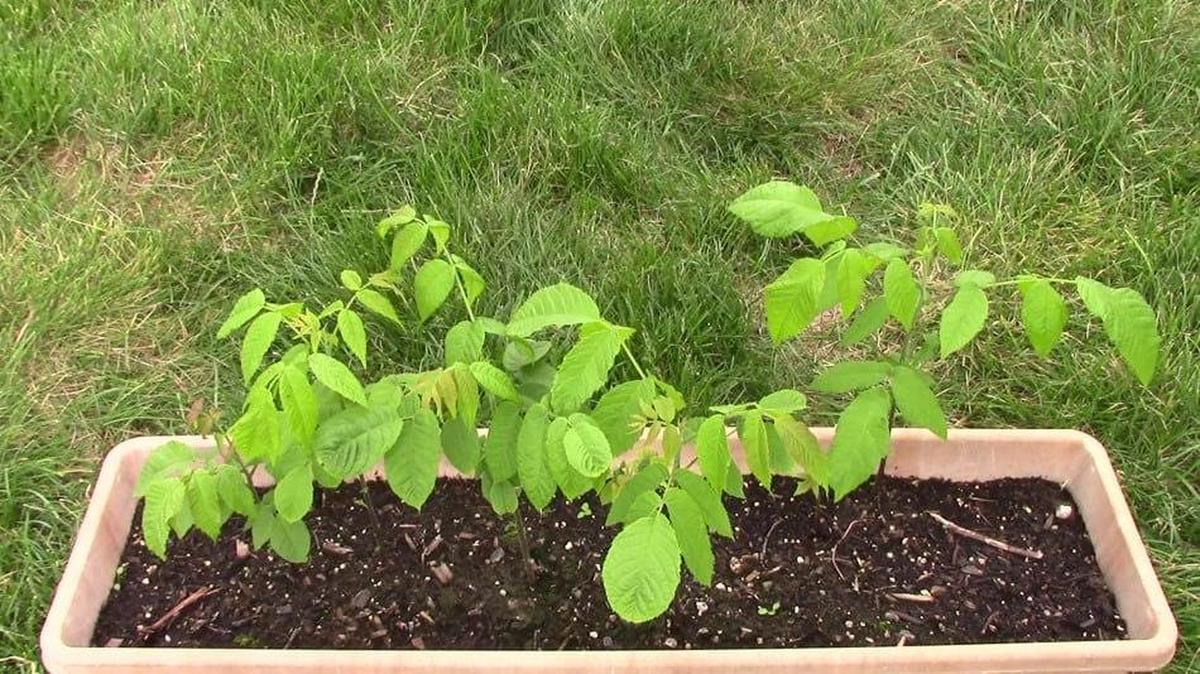
You can plant walnut seeds directly in the ground or in large pots.
If planting in the ground, dig a hole about 3-4 inches deep and place the seed inside, covering it with soil.
If you started your walnut tree indoors, wait until the seedling is strong and well-established before transplanting it outside.
This is typically done in early spring or late fall when the tree is dormant.
Alternatively, you can start walnut seeds indoors in pots or seed trays.
Use a well-draining potting mix and plant the seeds 3-4 inches deep.
Once seedlings have grown strong roots and stems, you can transplant them outdoors.
Spacing Requirements
When planting multiple seeds, space them at least 12-15 feet apart to give the trees room to grow without competing for resources.
Ongoing Care
Watering a walnut tree in its early years is crucial, especially during dry spells.
Once it settles in, this resilient tree can handle drought conditions with ease.
A layer of organic mulch around the base not only helps retain moisture but also keeps weeds at bay and stabilizes soil temperature.
Pruning plays a vital role too; shaping your tree early on ensures strong growth and enhances productivity down the line while keeping an eye out for pests like aphids or codling moths will help maintain its health naturally.
Fruiting Phase
Growing walnut trees requires a good dose of patience.
Waiting four to seven years for your first harvest might feel like an eternity, but think about the joy of enjoying fresh walnuts for many years afterward.
These trees not only provide tasty nuts but also add beauty and shade to your landscape, making every moment spent waiting worthwhile.
Plant those seeds with care and excitement; a rewarding journey awaits you as nature unfolds its wonders over time.
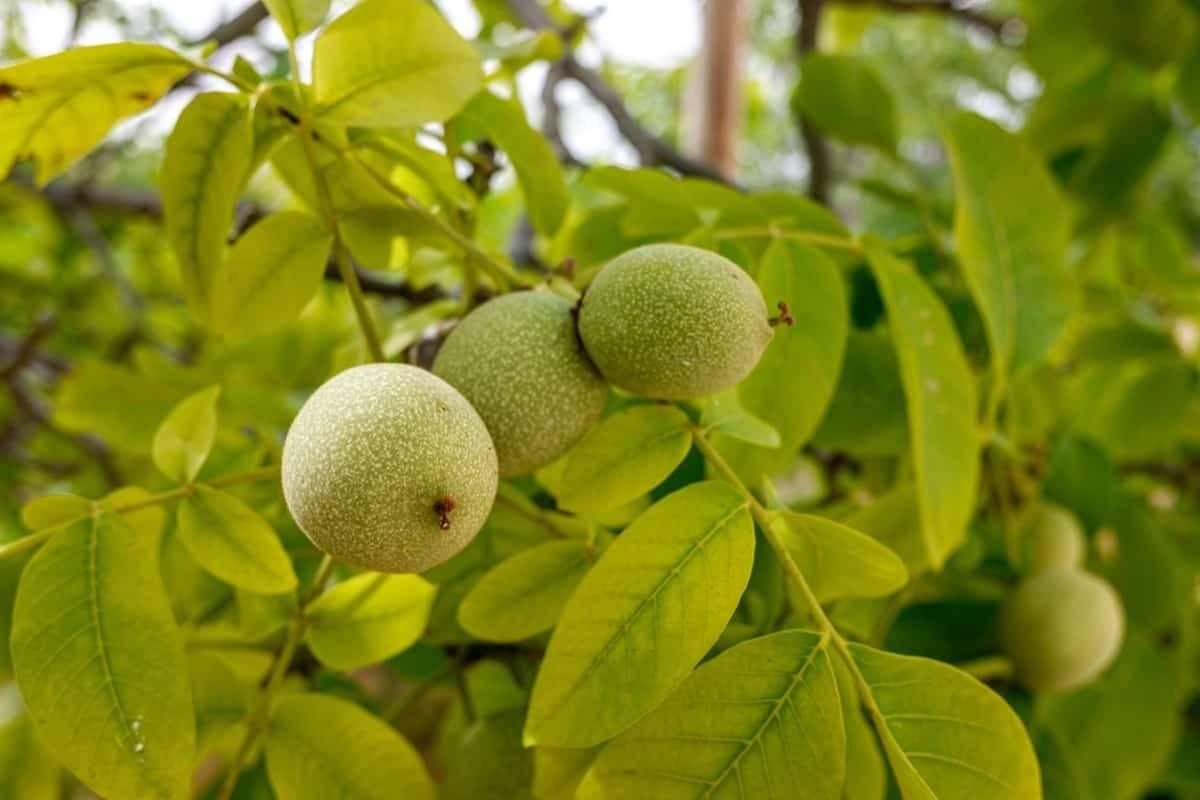
Harvesting Walnuts
Walnuts typically take 5-7 years to begin producing nuts, but this varies based on the tree’s growing conditions. Once the nuts have matured, they will begin to fall from the tree in late summer or fall.
Harvest walnuts when the green husks begin to split open. Collect the nuts as soon as they fall to prevent them from being damaged by pests or weather.
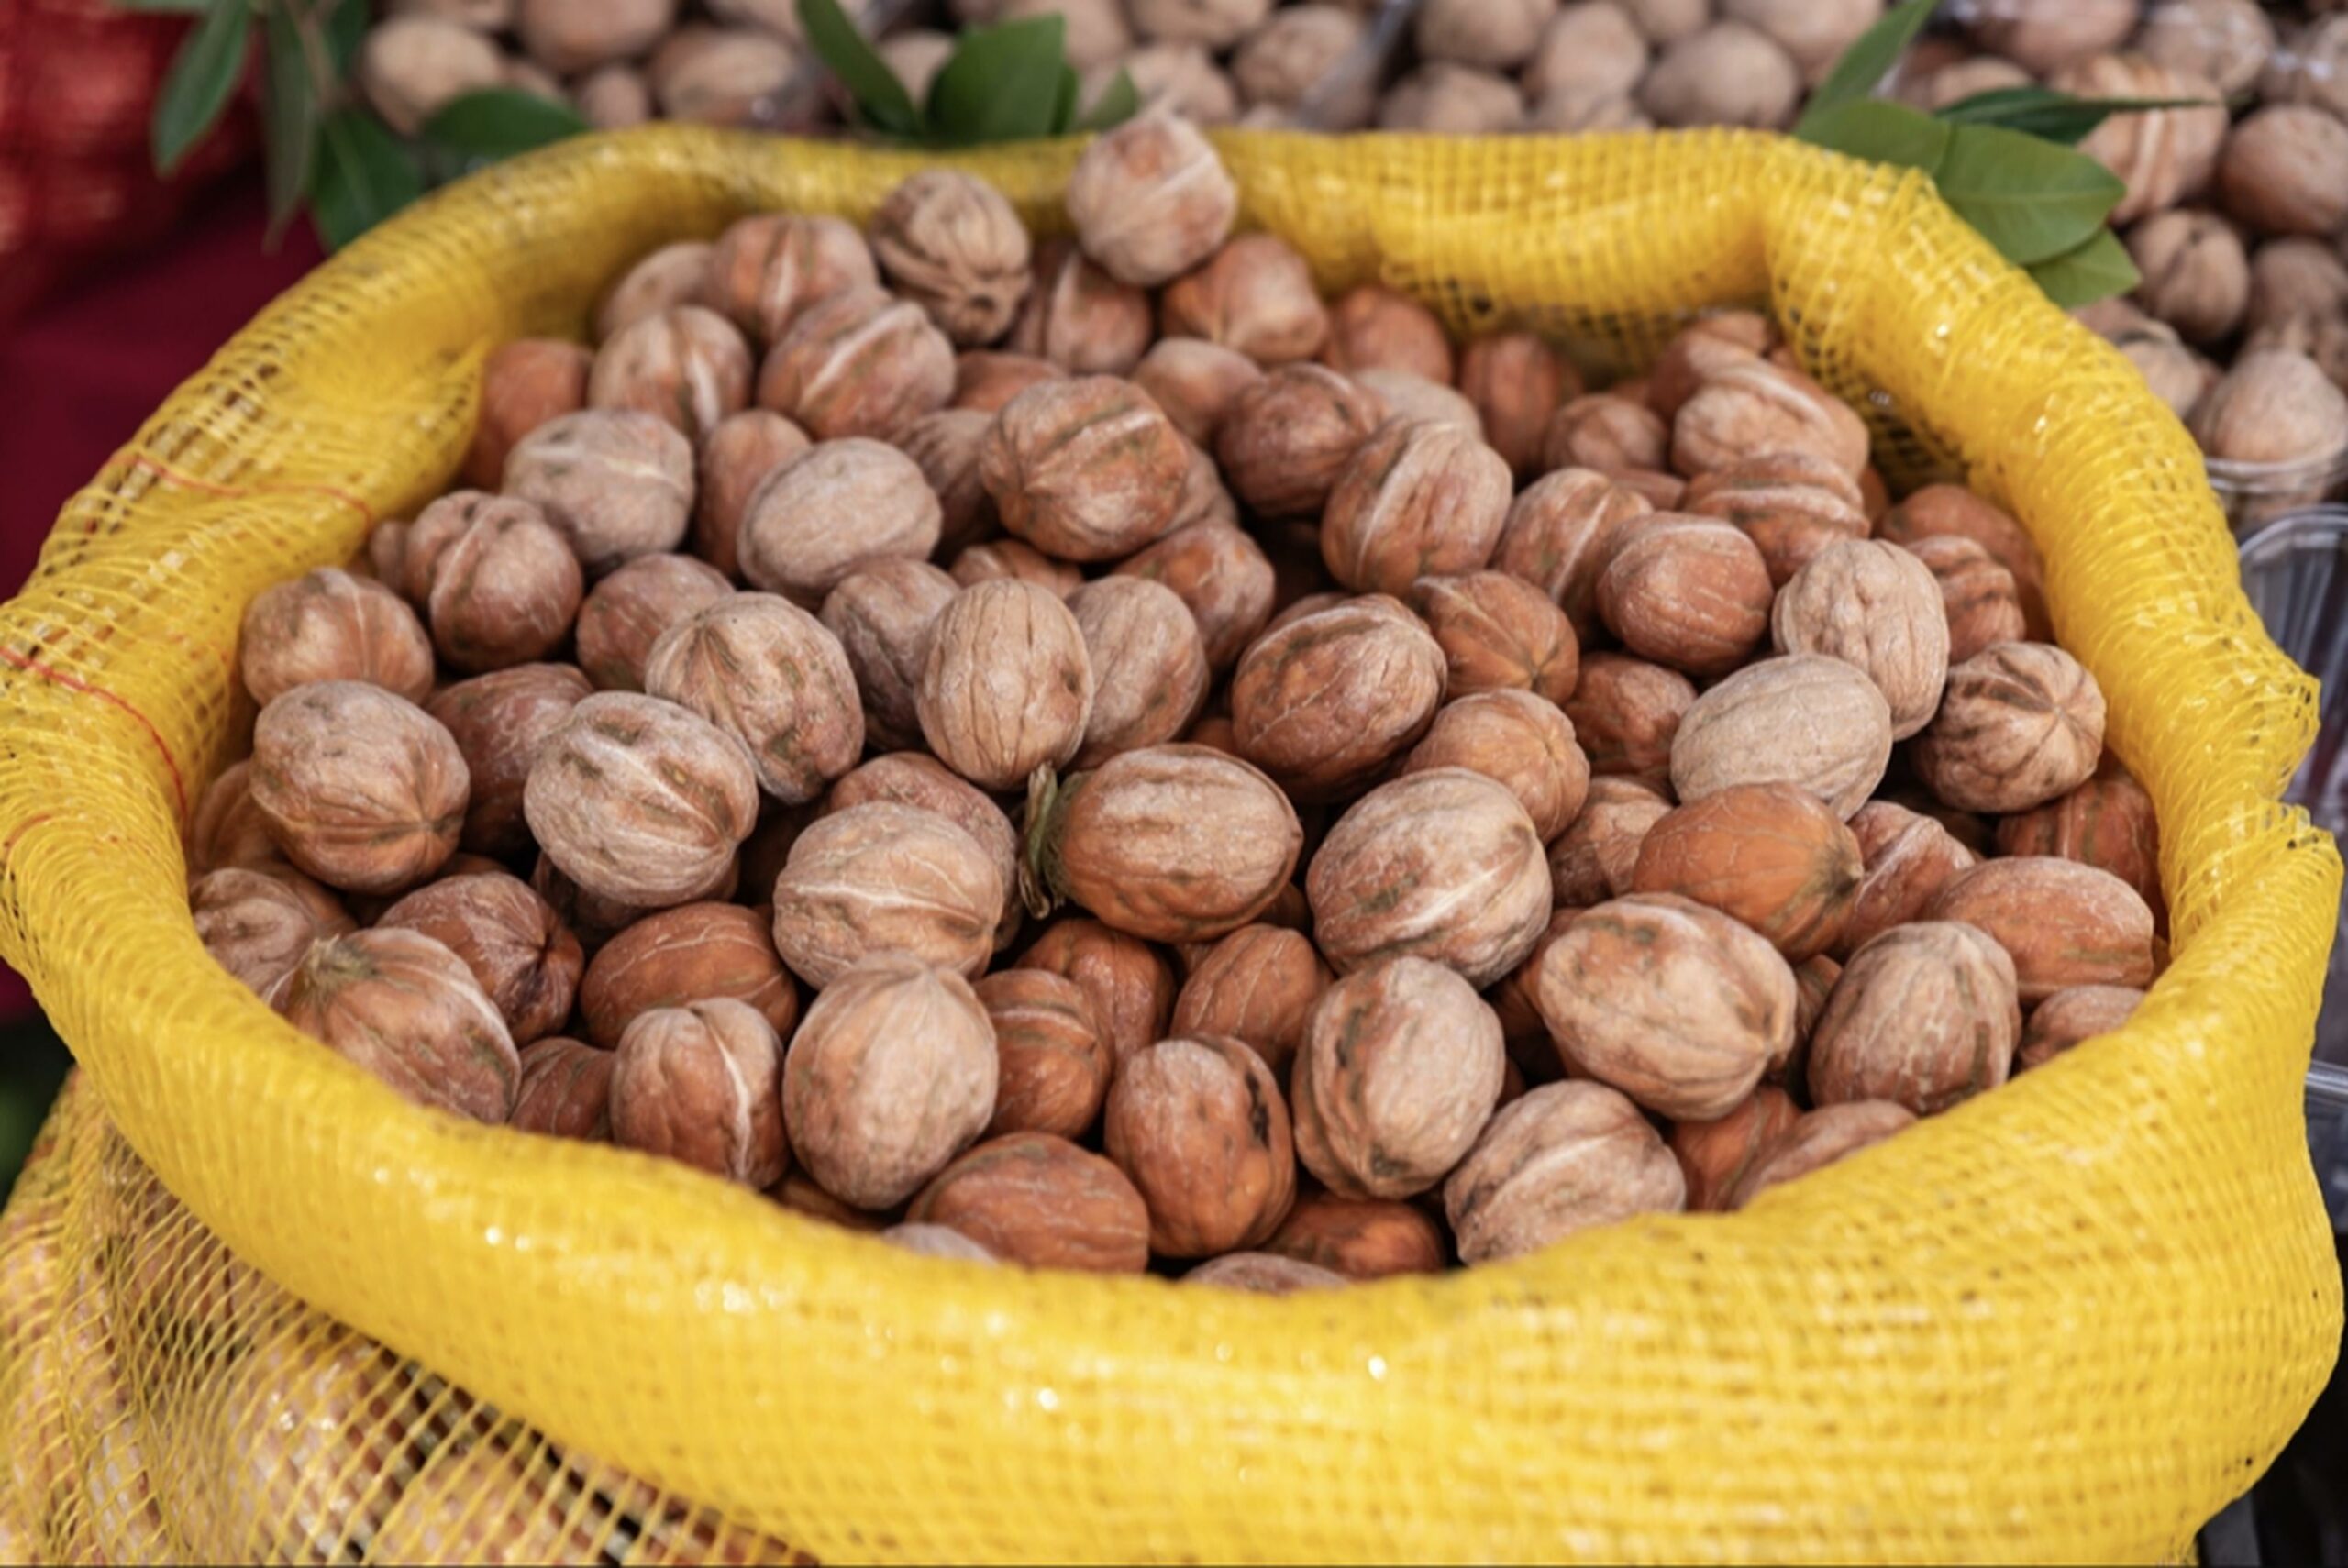
After harvesting, remove the husks from the nuts and let them dry in a cool, dry location for a few weeks. Once dried, store the walnuts in a cool, dark place until you're ready to use them.
James Turner
Founder & Lead Designer
Expertise
Interior Design, Sustainable Design Practices, Spatial Planning, Innovative Material Applications, Contemporary Art Techniques, Visual Communication, Multimedia Artistry, DIY Design and Home Projects, Eco-Friendly Living Spaces, Creative Solutions
Education
University of Cincinnati College of Design, Architecture, Art, and Planning (DAAP)
Columbus College of Art & Design (CCAD), Columbus, OH
James Turner is the founder and lead designer at Velocity Art and Design. He studied Interior Design at the University of Cincinnati, focusing on eco-friendly design and smart use of space.
Later, he expanded his artistic skills with a Fine Arts Certificate from the Columbus College of Art & Design, where he learned about modern art and visual storytelling.
With over 10 years in design, James is passionate about making spaces that are both beautiful and practical. He shares his DIY tips and creative ideas to inspire others to explore their own creativity and transform their living spaces.