
Smart and Simple: Grow Mint at Home with a Plastic Cup
For those who love fresh herbs but want an affordable growing option, the plastic cup method is a fantastic way to grow mint at home.
This method is easy, requires minimal materials, and offers a continuous supply of mint for culinary or tea-making purposes.
Whether you’re new to gardening or just looking for a budget-friendly solution, this guide provides all the steps you need to start growing mint indoors with the plastic cup method.
Essential Materials
Gather these essential items to ensure a successful start for growing mint, making the process smooth and efficient.
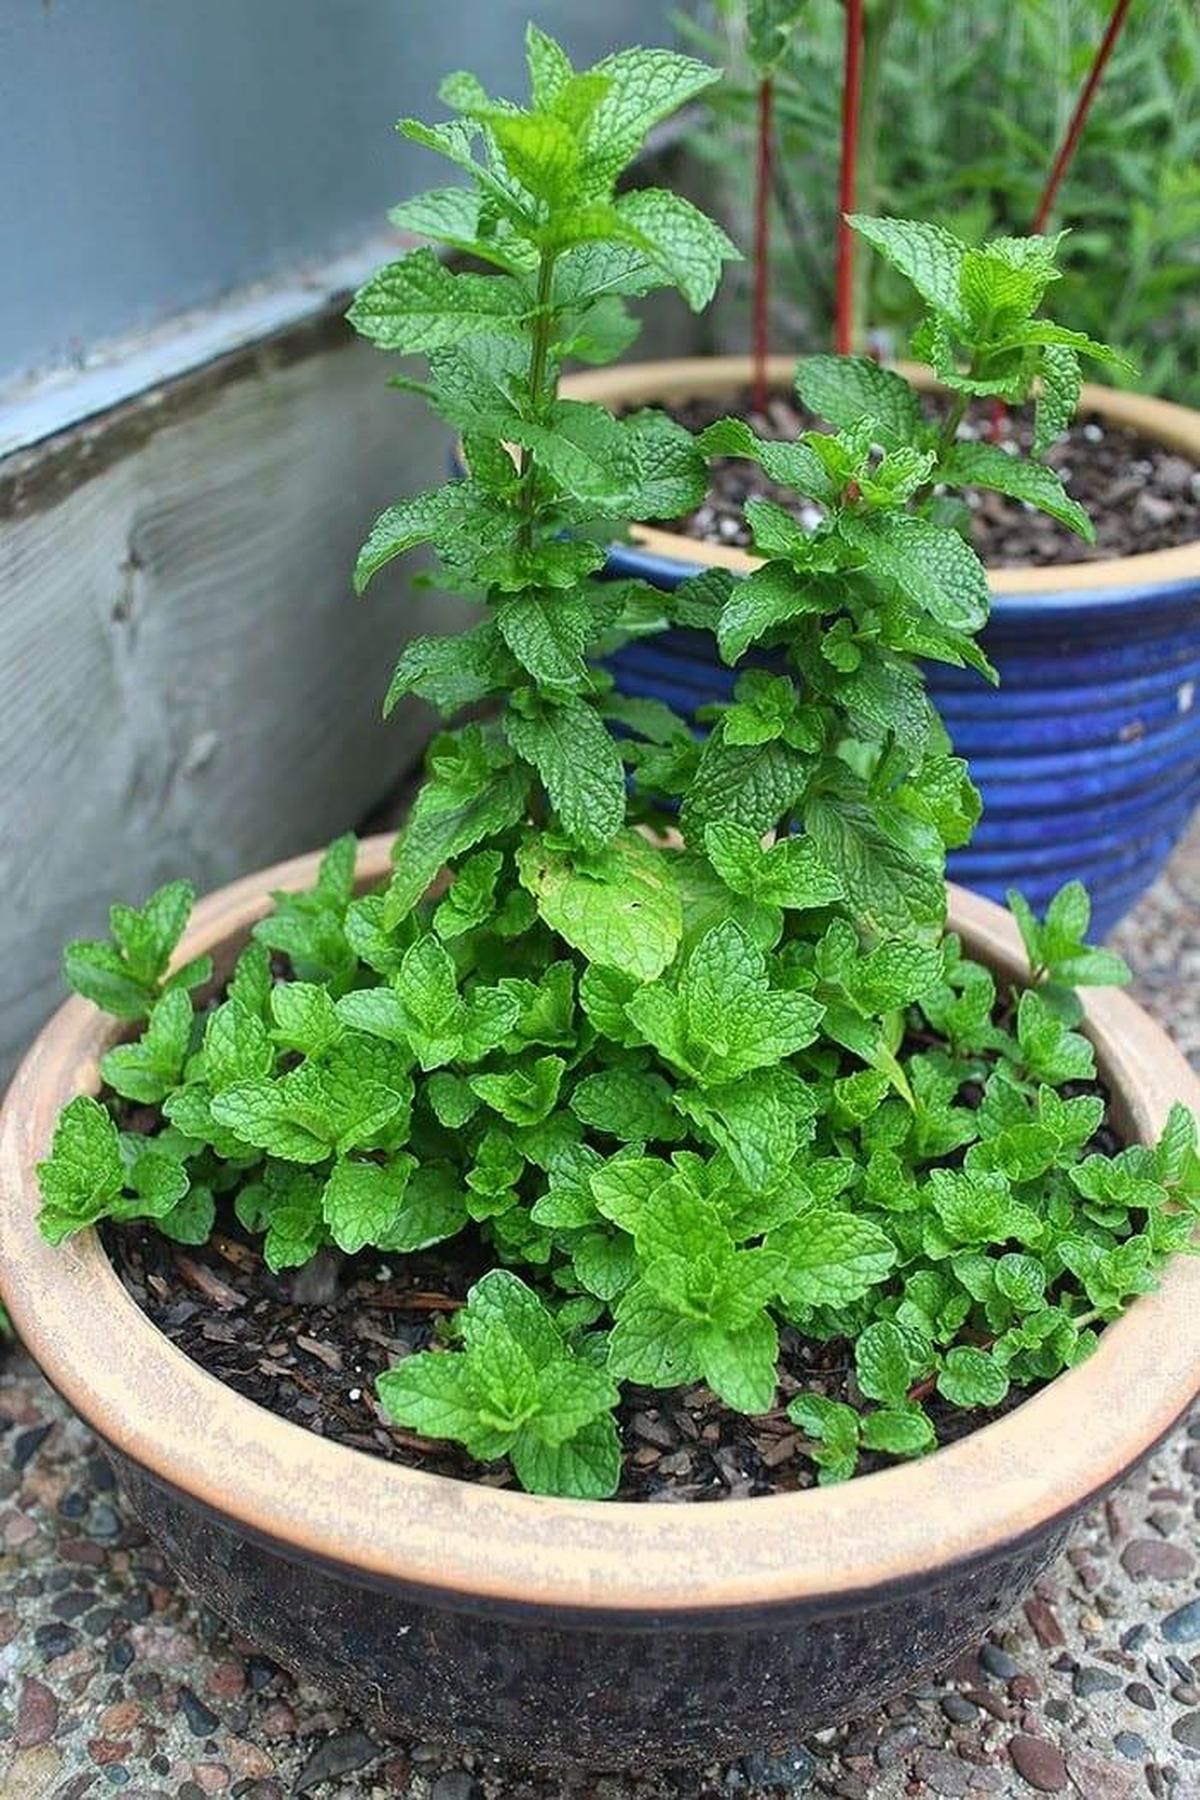
Smart Tips for Growing Mint
Learn effective techniques to grow mint easily and manage its spread for a bountiful, healthy plant.
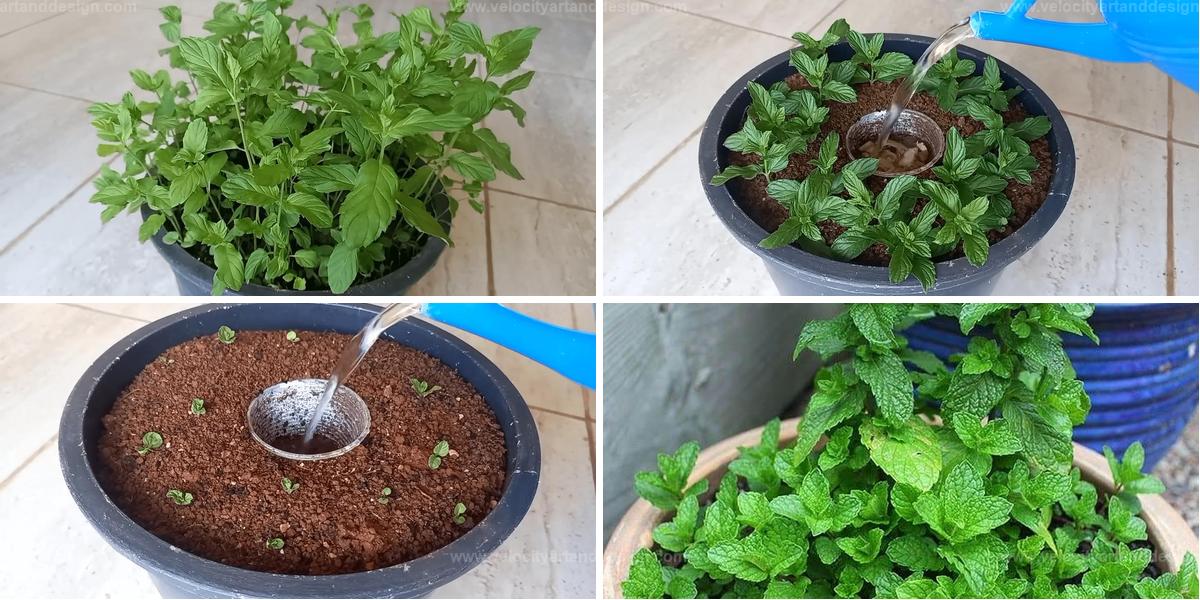
Prepare the Pot and Plastic Cup
Begin with selecting a pot or container that offers excellent drainage to prevent waterlogging. Mint appreciates a roomy setup, so look for a pot at least 12 inches deep and 12 inches wide. Fill it with potting soil, keeping about an inch or two of space from the top rim for easy watering.
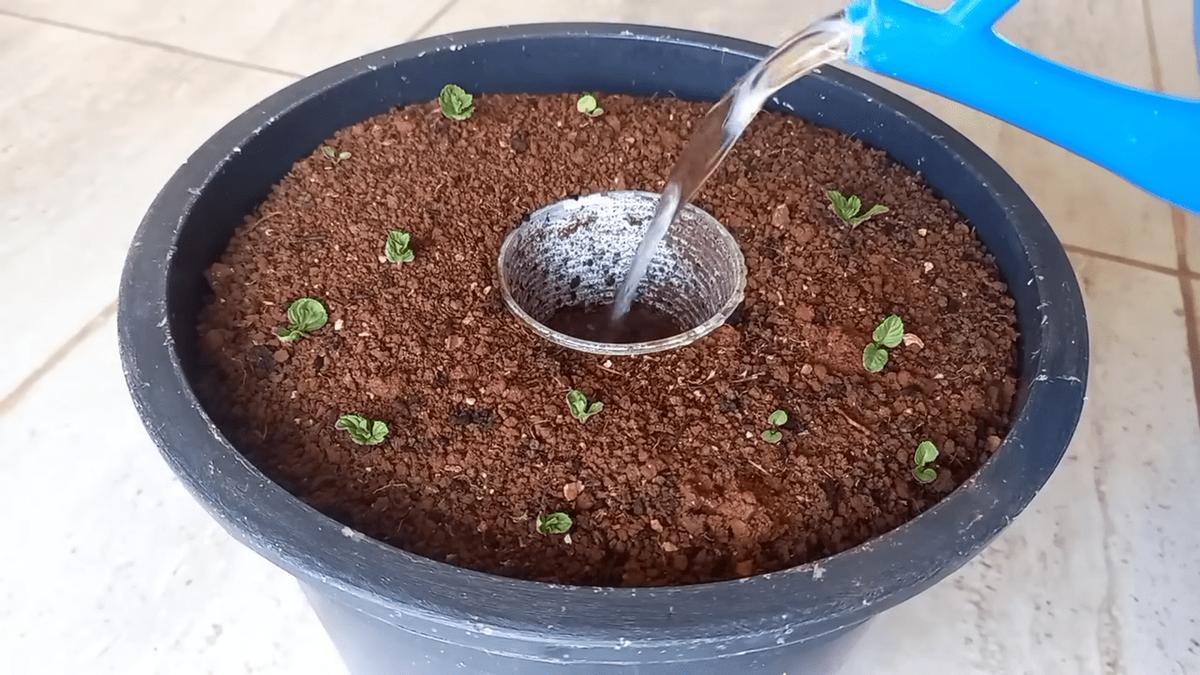
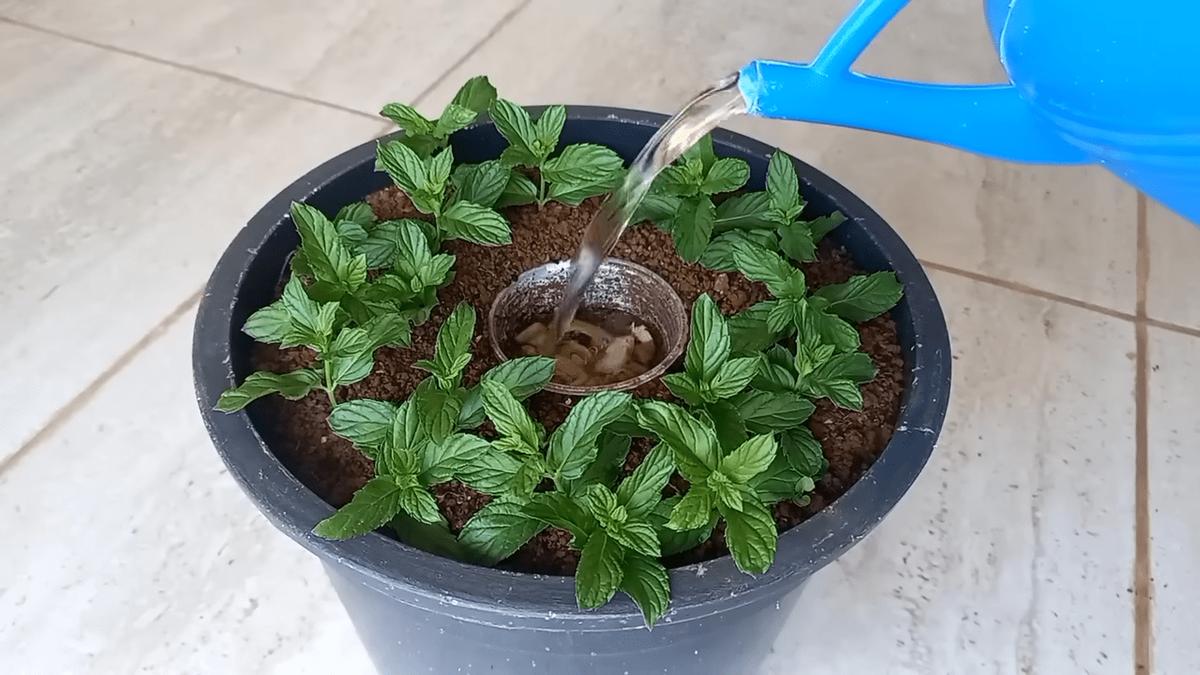
Next, take a plastic cup and punch holes around its sides and bottom. These holes ensure that water and nutrients are gradually released into the soil, providing even moisture and essential nutrients for optimal plant growth.
Position the Cup in the Pot
Place the cup right in the center of your pot, positioning it so that the rim sits level with the soil surface. This creates an "o" within an "O" shape when viewed from above, allowing you to conveniently add water and nutrients directly.
Add Fertilizer
For a powerhouse natural fertilizer, grab some crushed garlic and dried banana peels. This unique mix is packed with nutrients that are great for your mint’s growth. Fill the cup with this mixture to ensure your mint plant receives a steady nutrient supply.
Plant the Mint
If you have mint seedlings or cuttings, start by making a small hole in the soil next to the plastic cup. Place your mint in the hole and gently pat the soil around it. Mint grows well with companions, so consider planting a few more seedlings or cuttings, keeping them a few inches apart.
Care for Your Mint Plant
To water your mint, pour water directly into the plastic cup. As the water seeps through the cup’s holes, it carries nutrients from the garlic and banana peels, delivering them directly to the mint’s roots for sustained nourishment.
Harvest the Mint Leaves
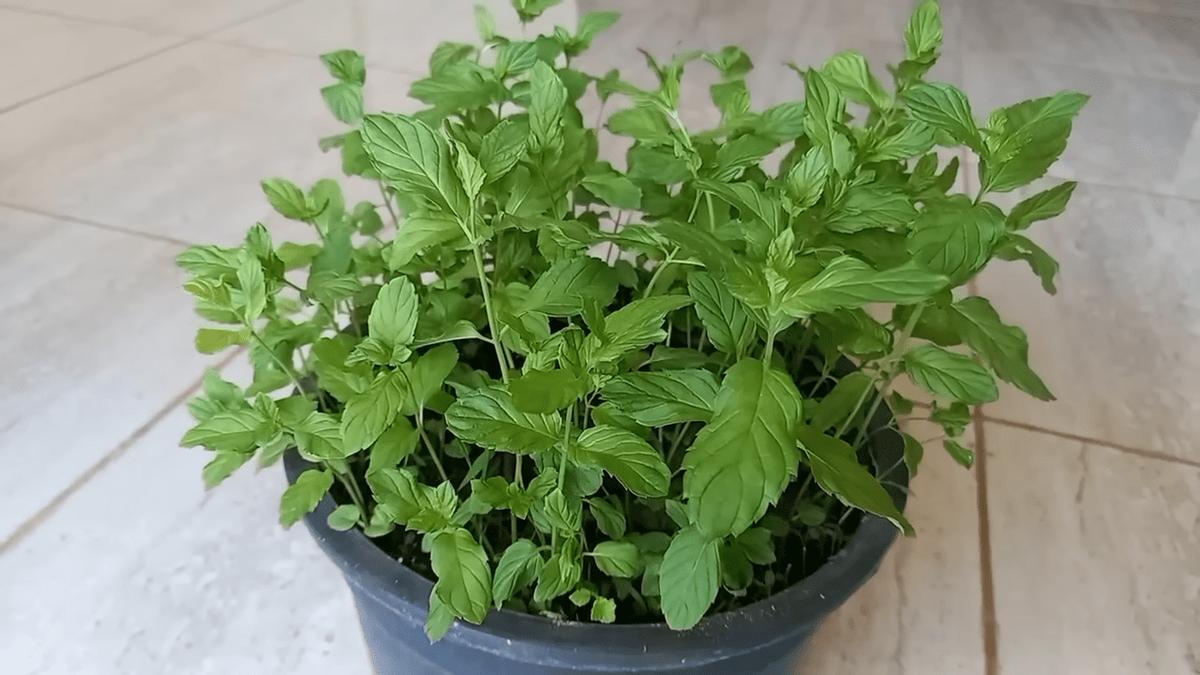
Your mint should be ready for a trim after about 8-10 weeks. When harvesting, snip just above a set of healthy leaves to encourage bushier growth, helping you enjoy a fuller, more lush plant.
Frequently Asked Questions
Find answers to common questions about mint cultivation, offering helpful insights and extra care tips.
Which Type of Mint is Best for This Method?
Popular mint varieties for this method include spearmint and peppermint, which are hardy and aromatic – perfect for culinary use. Feel free to try this setup with other types of mint as well!
Is There an Ideal Time of Year to Start Growing Mint This Way?
The best time to start growing mint with this approach is in spring or early summer when the weather is warm. Starting in the growing season gives your mint the boost it needs to establish well.
What Are Common Pests and Diseases That Affect Mint?
While mint is generally resilient, keep an eye out for common pests like aphids, spider mites, or rust. Regularly inspect your plants to catch and address any issues early on.
How Should I Store Harvested Mint Leaves?
Store your harvested mint by washing and thoroughly drying the leaves before placing them in an airtight container or freezer bag. Store in the refrigerator for short-term use or freeze for longer preservation.
James Turner
Founder & Lead Designer
Expertise
Interior Design, Sustainable Design Practices, Spatial Planning, Innovative Material Applications, Contemporary Art Techniques, Visual Communication, Multimedia Artistry, DIY Design and Home Projects, Eco-Friendly Living Spaces, Creative Solutions
Education
University of Cincinnati College of Design, Architecture, Art, and Planning (DAAP)
Columbus College of Art & Design (CCAD), Columbus, OH
James Turner is the founder and lead designer at Velocity Art and Design. He studied Interior Design at the University of Cincinnati, focusing on eco-friendly design and smart use of space.
Later, he expanded his artistic skills with a Fine Arts Certificate from the Columbus College of Art & Design, where he learned about modern art and visual storytelling.
With over 10 years in design, James is passionate about making spaces that are both beautiful and practical. He shares his DIY tips and creative ideas to inspire others to explore their own creativity and transform their living spaces.