
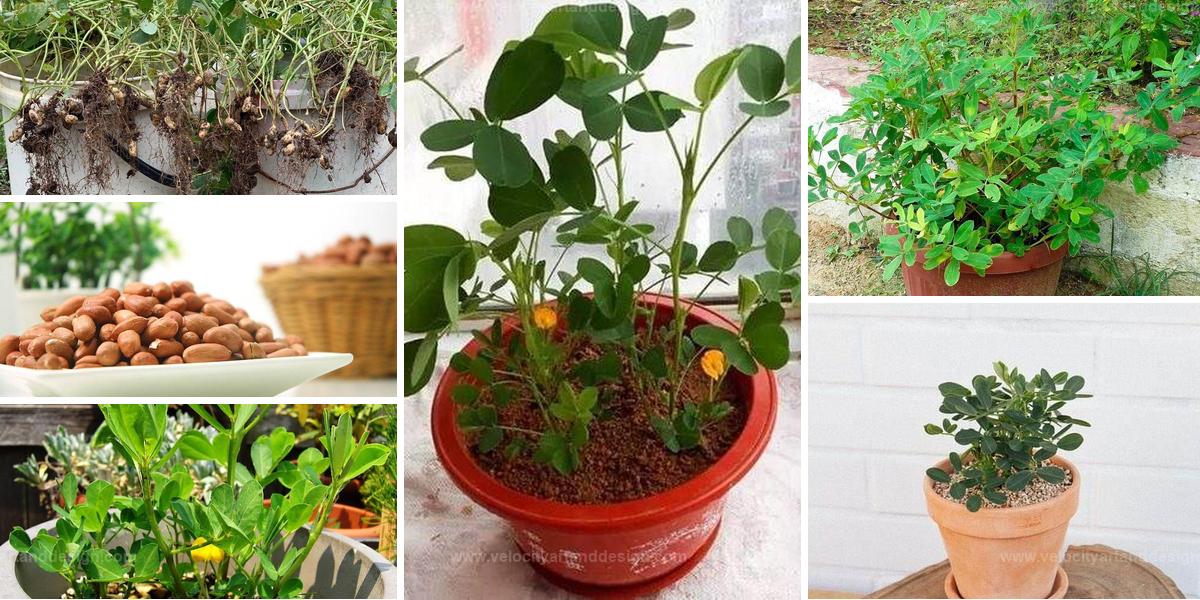
Grow Your Own Peanuts in Pots: A Fun and Easy Guide to a Tasty Snack
Growing peanuts in pots allows you to grow your own snack right at home, even if you have limited space.
These easy-to-grow plants thrive in warm weather and well-draining soil.
Plant the peanuts in a deep pot, and with consistent care, you’ll soon see the peanuts developing underground.
It’s a fun and rewarding gardening project that lets you harvest fresh peanuts right from your own container.
Whether you’re a seasoned gardener or a beginner, peanuts are a great addition to your collection.
Ready to grow your own peanuts?
Let’s get started with the process!
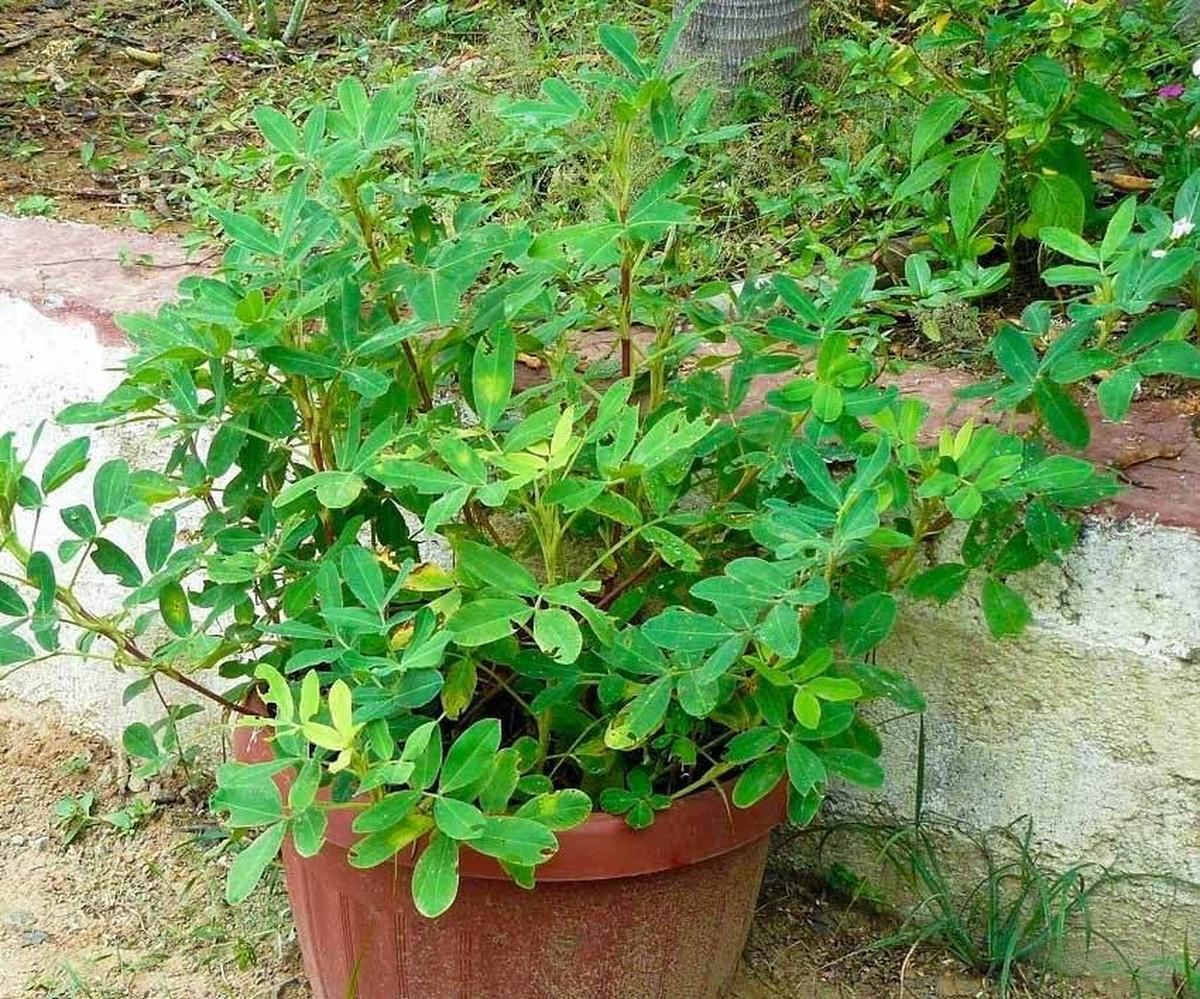
Selecting Ideal Peanuts and Containers
Choosing the right peanuts sets the stage for a rewarding experience.
Valencia and Spanish varieties shine in container gardens, each bringing its own delightful flavor to your culinary adventures.
Finding a deep container, at least 18 inches, allows those underground treasures room to grow and flourish without feeling cramped.
Drainage holes are essential; nobody wants soggy peanuts ruining their harvest excitement!
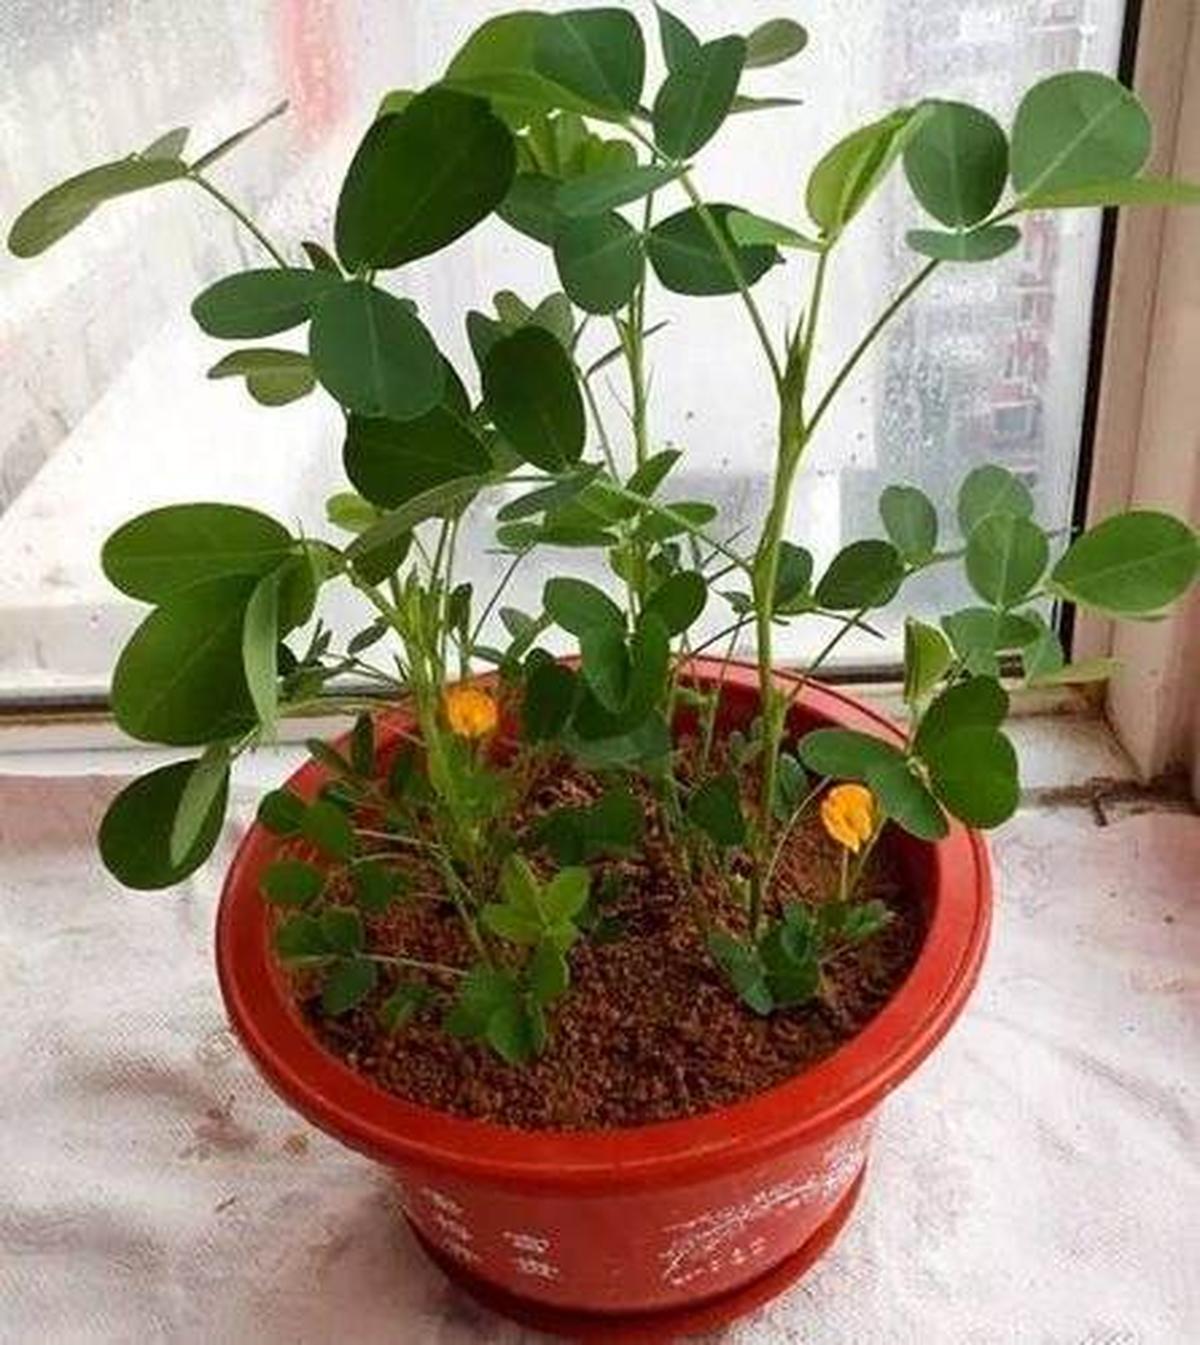
Initial Planting and Care

Peanuts are a warm-season crop, so wait until all danger of frost has passed, and the soil temperature is at least 60°F (15°C).
In most climates, planting in late spring to early summer works best.
After the last frost, fill a container with a potting mix that drains well.
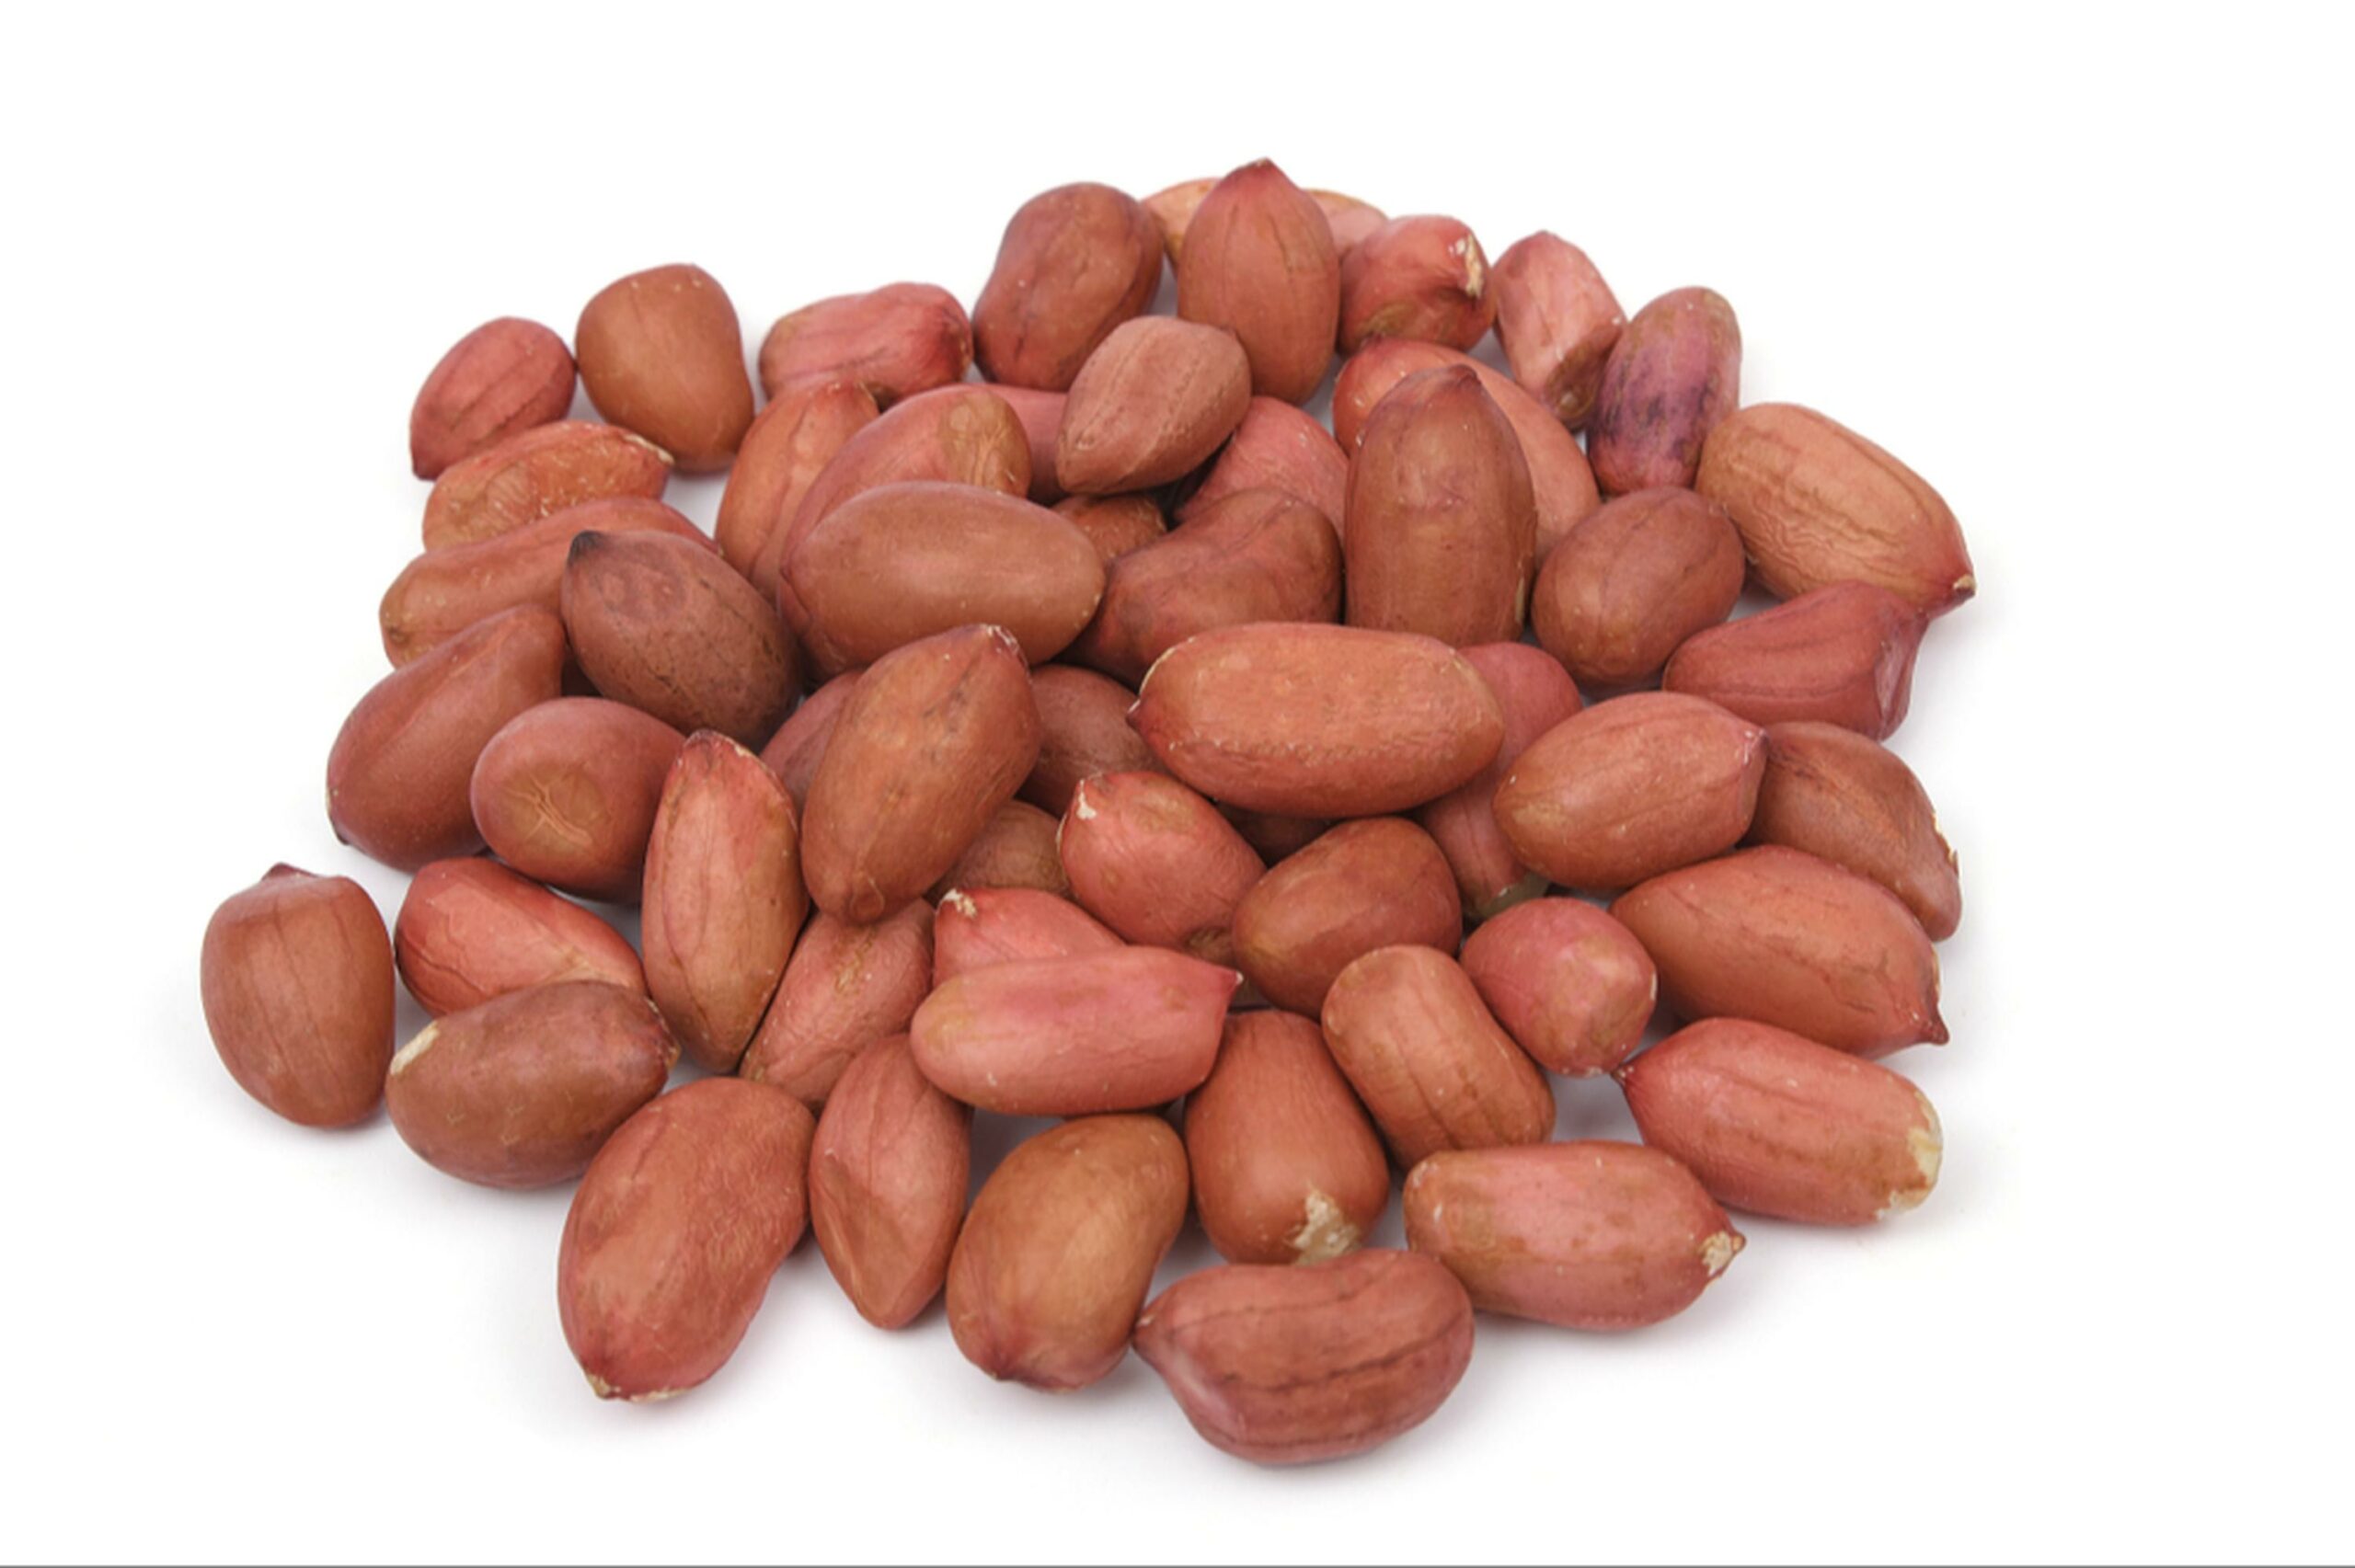
Peanuts are grown from raw, unsalted peanuts in their shells. You can plant 3-4 peanuts per pot.
To plant, bury the peanuts about 2 inches deep in the soil. If you’re planting multiple peanuts, space them 6-8 inches apart to give them room to grow.
Be sure to plant peanuts with the "eye" (the pointy end) facing down into the soil.
Place the seeds about 2 inches deep and space them 3 to 4 inches apart for optimal growth.
As those plants reach upward, adding more soil around their base encourages nut production beneath the surface.
Peanuts don’t require significant vertical support like vine plants, but ensure they are spaced properly in the container to allow for the plants to spread out.
Peanut plants will naturally "peg" or produce runners that grow down into the soil. These pegs develop the peanut pods beneath the surface.
Sun Exposure and Irrigation
Peanuts flourish in bright sunlight, so choosing a sunny spot for your container is essential.
Aim for 6 to 8 hours of direct sun each day to keep them content.
When it comes to watering, these plants prefer their soil moist but not drenched; think of it as a gentle shower rather than a downpour.
Checking the soil with your finger can help, if it's dry about an inch deep, that's your cue to water them.
Peanut Nutrition and Fertilization
Peanuts thrive on a diet rich in nutrients, much like we do.
Using a slow-release fertilizer ensures they receive steady nourishment as they grow.
Use a balanced, low-nitrogen fertilizer to avoid excessive foliage growth. Peanuts are leguminous plants that naturally fix nitrogen from the air, so they don’t need a lot of nitrogen-rich fertilizer.
Fertilize the plants every 4-6 weeks during the growing season, using a slow-release organic fertilizer or compost.
Following the instructions on the package helps maintain their health and vigor, leading to a bountiful harvest.
With proper care, those little seeds can flourish into delicious snacks that you can enjoy!
Managing Pests
Regular inspections of your peanut plants are essential to keep them healthy.
Nasty critters like aphids and spider mites can quickly ruin your hard work.
A strong jet of water or a neem oil spray effectively removes these pests without harming the plants.
Staying vigilant ensures that you enjoy a bountiful harvest, free from unwanted visitors!
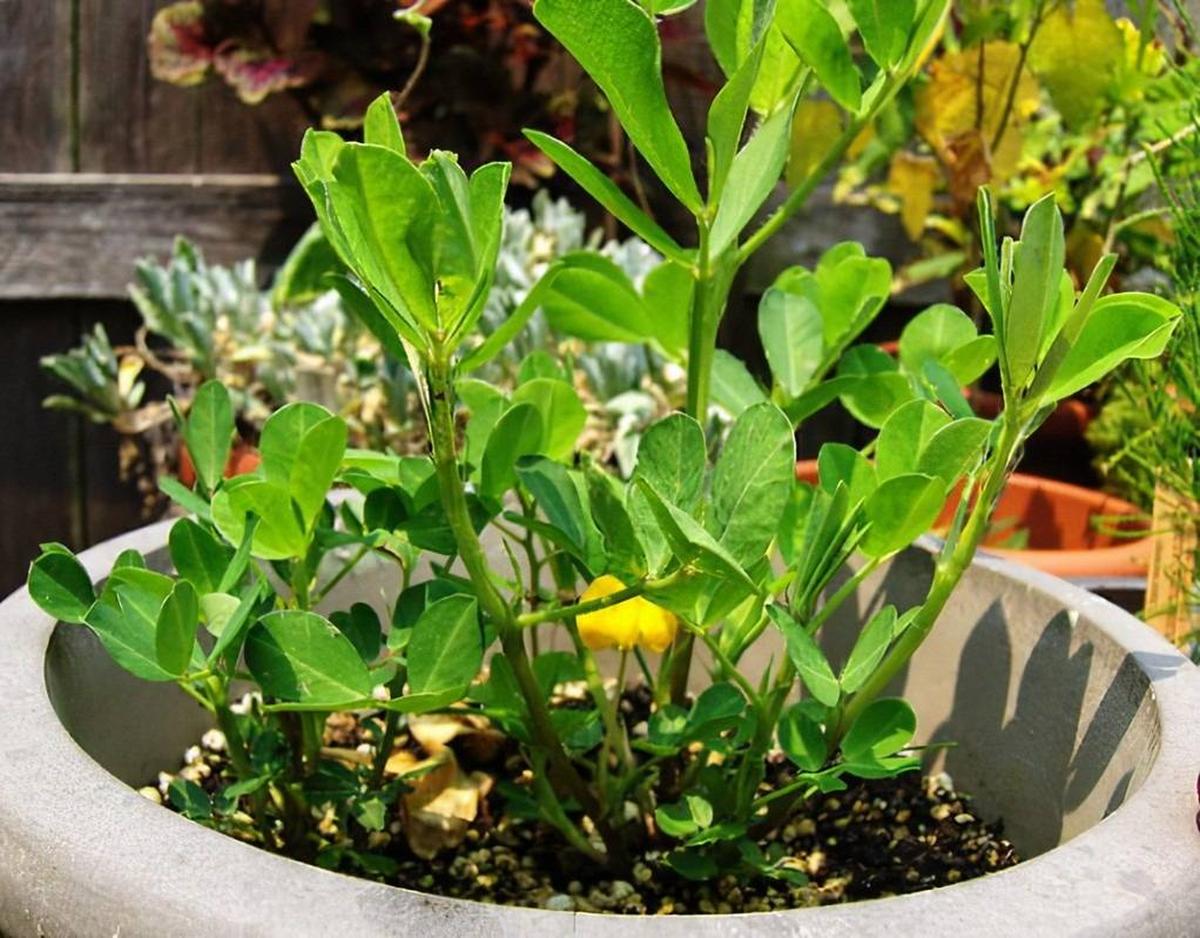
Harvesting Your Peanuts

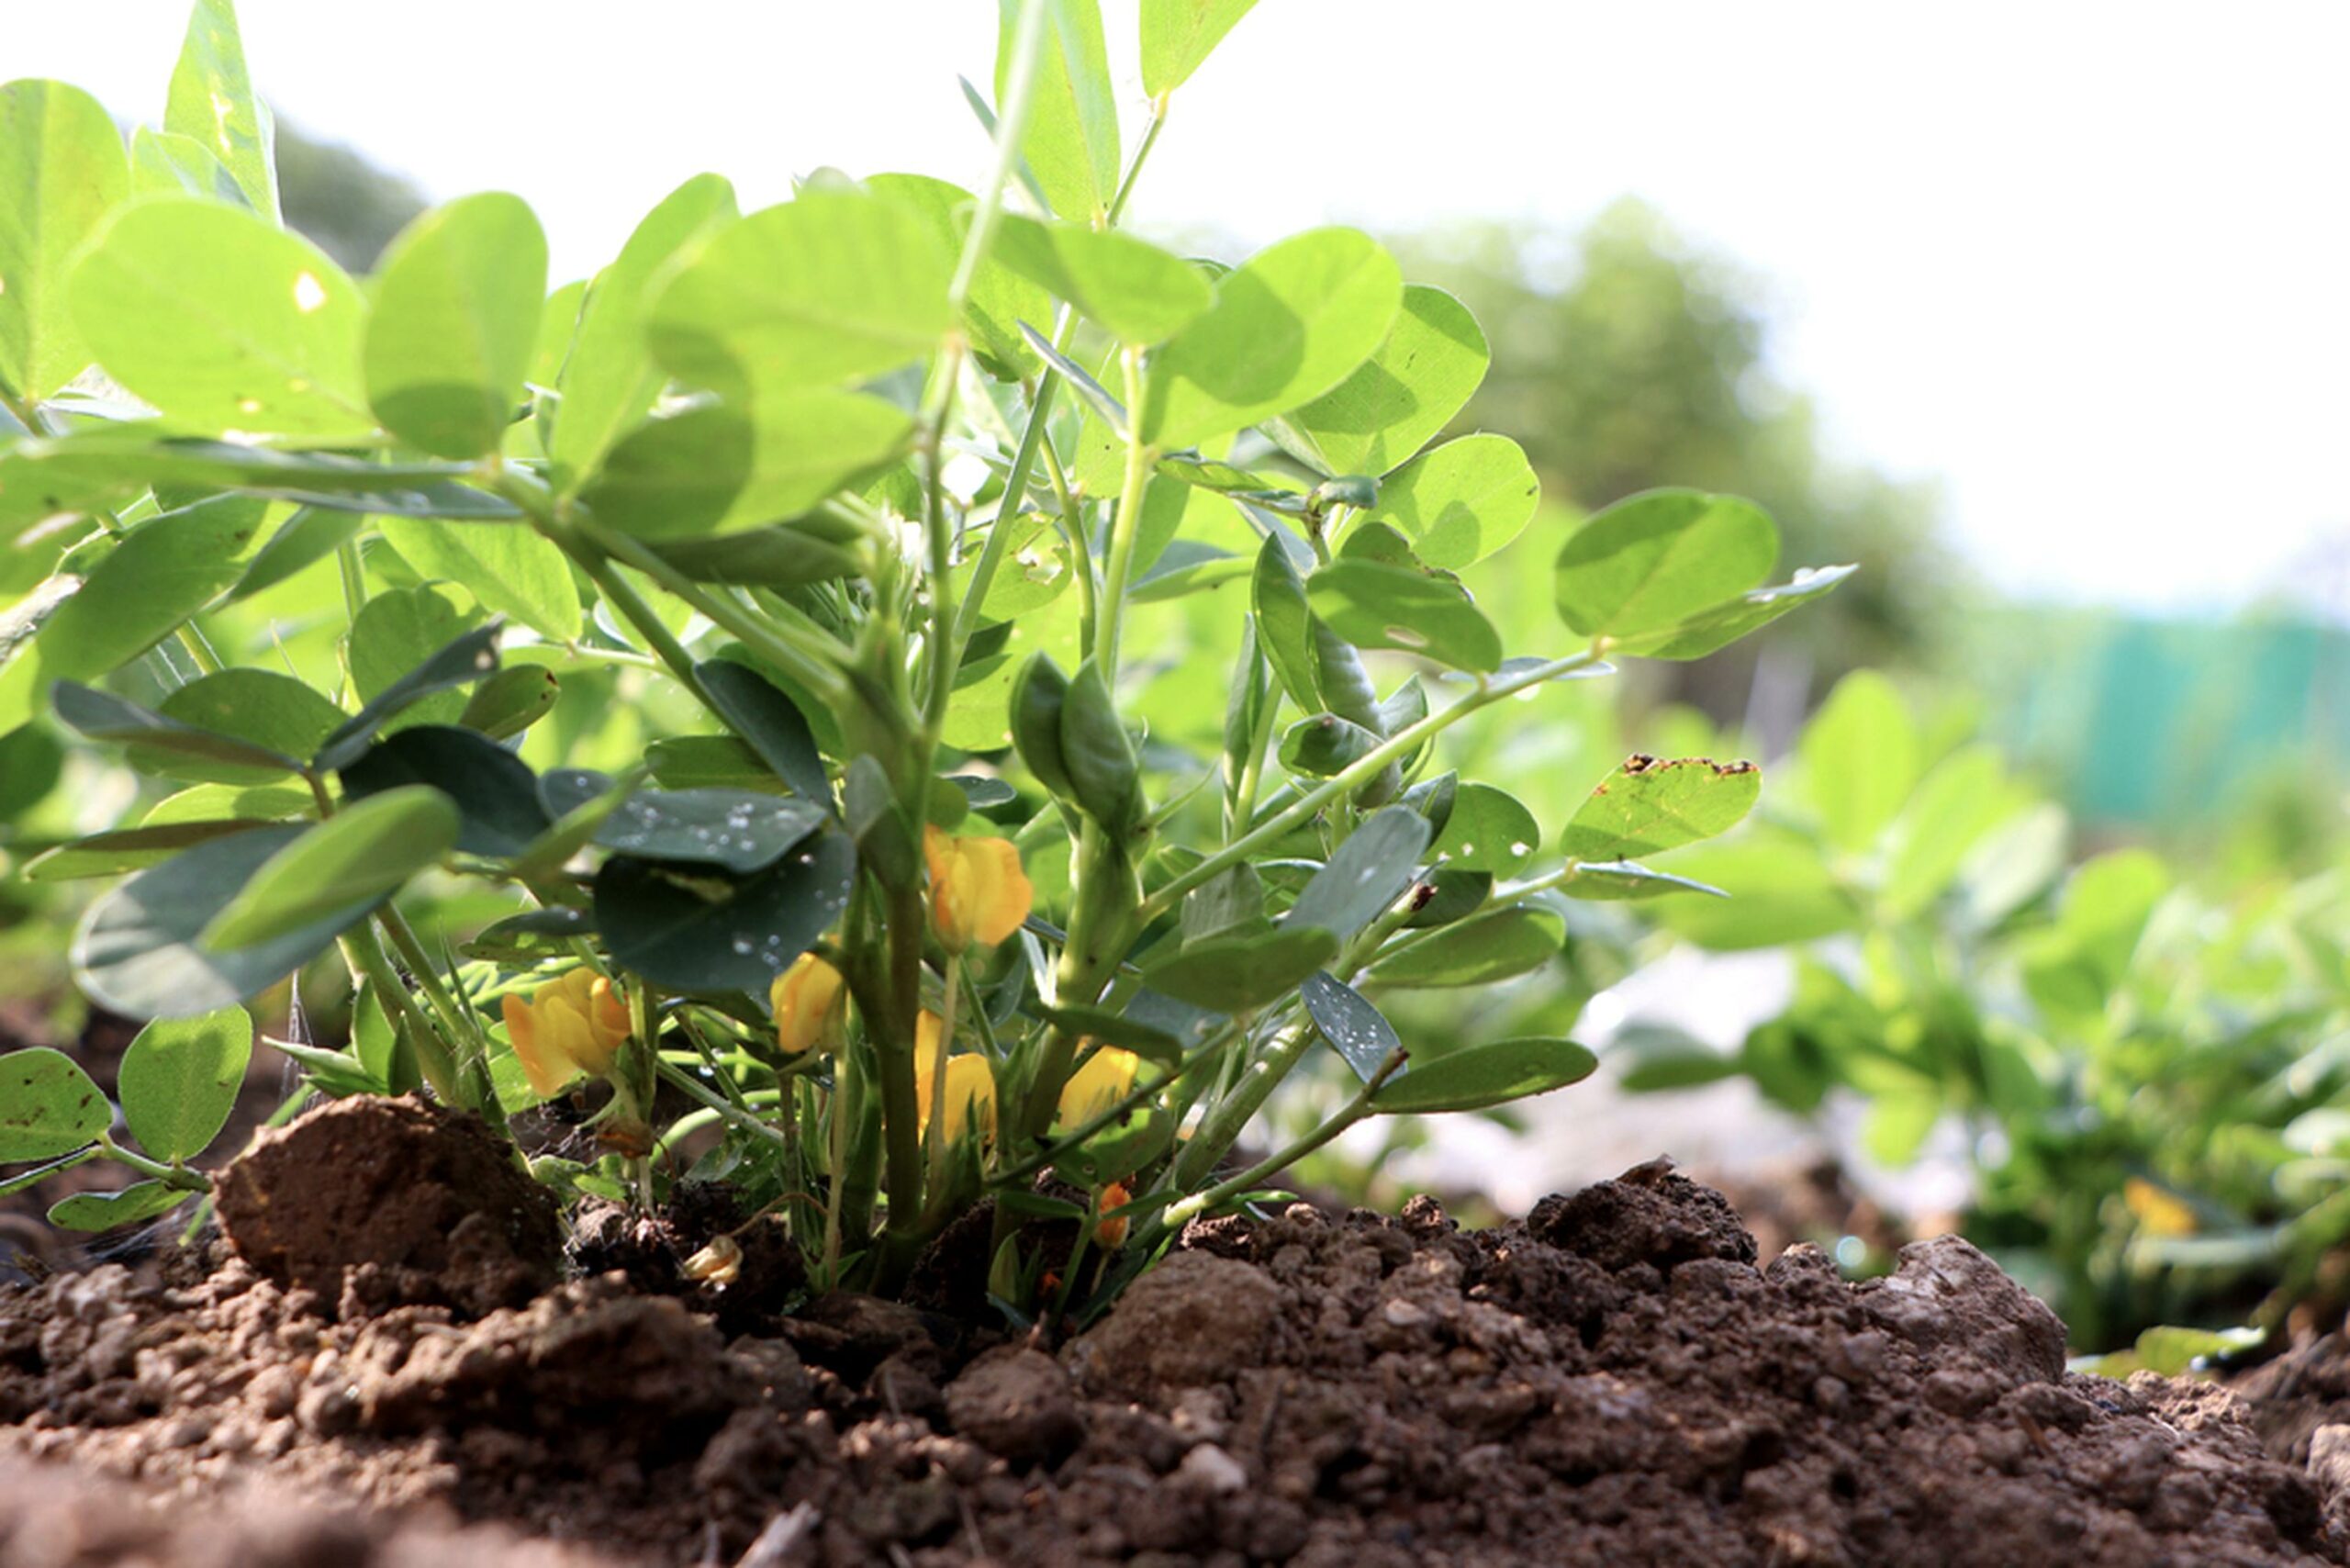
Peanut plants add a splash of color to your garden with their cheerful yellow flowers.
Once pollination occurs, these blossoms turn into pegs that dig down into the earth, where the peanuts develop.
Harvesting becomes an exciting event around 100 to 130 days later when leaves begin turning yellow and the plant shows signs of wilting.
Digging gently at the base reveals your hard work; after shaking off excess soil, letting them dry for two weeks prepares them for delicious snacking.
Roasting or simply enjoying fresh peanuts right from their shells can be incredibly satisfying.
Storing these treats in a cool and dry spot keeps them fresh longer.
Growing peanuts in containers not only offers tasty rewards but also makes gardening feel like an adventure you won’t forget.
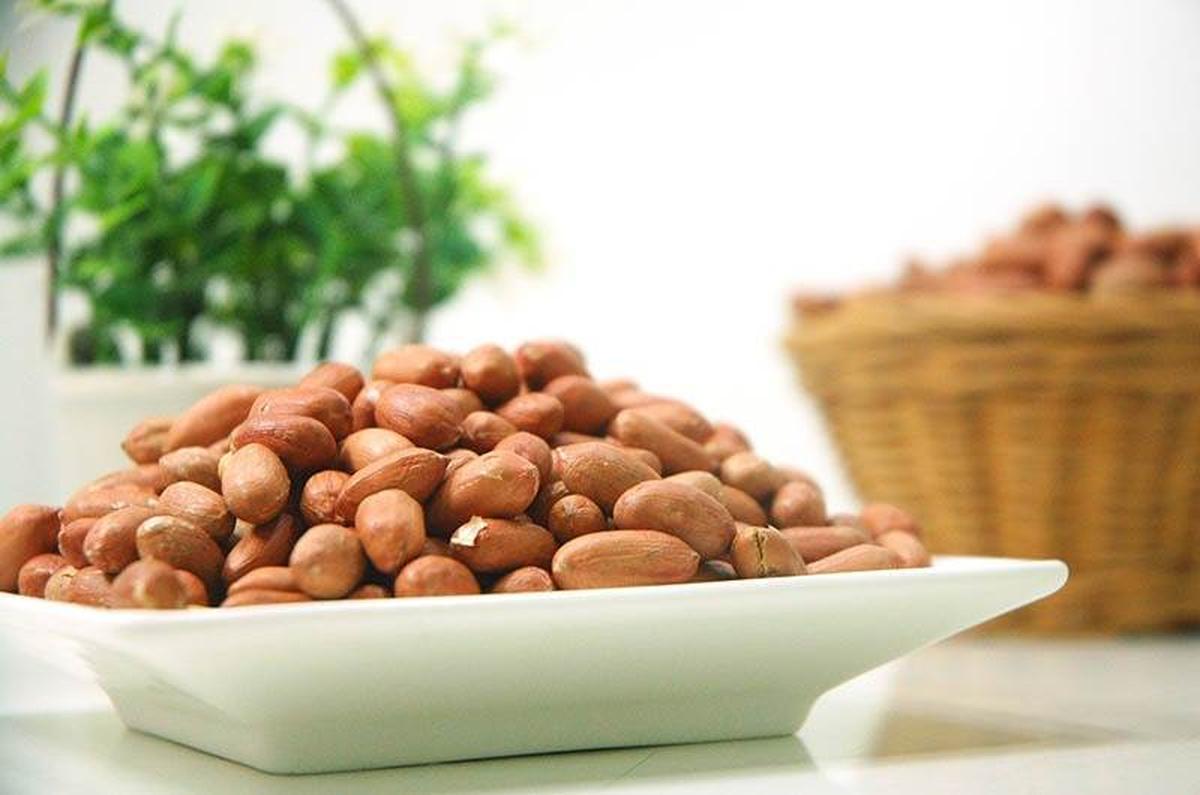
Storing Your Peanuts
Once the peanuts are fully dry, remove them from their shells for long-term storage.
Store them in an airtight container in a cool, dark place, where they can last for several months.
Roasting is a great way to prepare homegrown peanuts. Preheat the oven to 350°F (175°C), spread the peanuts on a baking sheet, and roast for 10-15 minutes, stirring occasionally. Add salt or seasonings to taste.
Troubleshooting Common Issues
Growing peanuts in containers is a fun and rewarding way to enjoy your own homegrown snack.
However, like any plant, peanuts can face a few challenges along the way.
In this section, we’ll explore some common issues you might encounter when growing peanuts in pots and provide solutions to help you keep your plants healthy and thriving throughout the season.
Yellowing Leaves
Yellowing leaves may indicate overwatering, poor drainage, or nutrient imbalances.
Check the soil moisture and adjust watering habits.
If needed, amend with organic fertilizer to restore nutrients.
Slow Growth
Slow growth can result from insufficient sunlight, poor soil, or excessive nitrogen.
Ensure your peanuts receive adequate sunlight and check the soil for proper nutrient balance, adjusting as necessary.
James Turner
Founder & Lead Designer
Expertise
Interior Design, Sustainable Design Practices, Spatial Planning, Innovative Material Applications, Contemporary Art Techniques, Visual Communication, Multimedia Artistry, DIY Design and Home Projects, Eco-Friendly Living Spaces, Creative Solutions
Education
University of Cincinnati College of Design, Architecture, Art, and Planning (DAAP)
Columbus College of Art & Design (CCAD), Columbus, OH
James Turner is the founder and lead designer at Velocity Art and Design. He studied Interior Design at the University of Cincinnati, focusing on eco-friendly design and smart use of space.
Later, he expanded his artistic skills with a Fine Arts Certificate from the Columbus College of Art & Design, where he learned about modern art and visual storytelling.
With over 10 years in design, James is passionate about making spaces that are both beautiful and practical. He shares his DIY tips and creative ideas to inspire others to explore their own creativity and transform their living spaces.